Sometimes you don't need a framework like Vue or React to demonstrate an idea or concept in JavaScript. You just want a framework-agnostic, plain JavaScript development environment to play around with things like service workers, web workers, new JavaScript syntax, or IndexedDB, for example. In this blog post, you are going to learn how to quickly prototype plain JavaScript apps using ParcelJS to create such environment with zero config and low development overhead.
ParcelJS is an established web application bundler that powers cloud development platforms such as CodeSandbox to create plain JavaScript projects. Its developers position it as a fast and zero configuration bundler with the following features:
- Fast bundle times.
- Zero config code splitting.
- Hot module replacement with no configuration needed.
- Automatic transforms using Babel, PostCSS, and PostHTML when needed.
- Parcel has out-of-the-box support for JS, CSS, HTML, file assets, and more without needing any plugins or loaders.
- Readable error logging by printing syntax highlighted code frames when it encounters errors.
For the use case of this blog post, which is to quickly prototype vanilla JavaScript apps, these are promising features. However, ParcelJS also has the capability and flexibility to help you build highly complex applications.
“ParcelJS comes with many features that just work out-of-the-box, requiring zero configuration. It's a solid tool to spin a JavaScript app quickly and avoid overengineering a quick proof of concept using a framework when JavaScript is enough.”
Tweet This
You can find a polished version of this exercise on the
repo on GitHub. However, I encourage you to follow the post and build the ParcelJS app prototype gradually to better understand the heavy lifting that ParcelJS is doing for you and some of the quirks of its Hot Module Replacement system.parcel-prototype
Setting Up Zero Config ParcelJS
The entry point for ParcelJS can be any type of file. However, a JavaScript or an HTML file is recommended as ParcelJS would follow the dependencies declared in the file to build your whole application. This entry file would be part of an NPM project; thus, you need to have
npmFollow these steps to install NPM, if you need to.
To get started, head to your terminal and make the directory where you want to store this learning project your current working directory. After that, create a folder named
parceljs-prototypemkdir parceljs-prototype && cd parceljs-prototype
This one-liner creates the
directory and then makes it the current working directory.parceljs-prototype
Next, initialize an NPM project and install
locally:parcel-bundler
npm init -y
npm install parcel-bundler --save-dev
Once that's done installing, open the project in your preferred IDE or code editor.
You can run
orcode .to open the current working directory if you have installed the command line tools for Visual Studio Code or WebStorm.webstorm .
To run your project, you are going to use NPM scripts. Update
package.jsondevbuild{ "name": "parceljs-prototype", "version": "1.0.0", "description": "", "main": "index.js", "scripts": { "dev": "parcel <your entry file>", "build": "parcel build <your entry file>" }, "keywords": [], "author": "", "license": "ISC", "devDependencies": { "parcel-bundler": "^1.10.3" } }
What you need to create now is the entry point for the app. It's up to the developer to choose the type of file to use as an entry point. For this tutorial, you'll use an
index.htmlindex.jssrcparceljs-prototype |- package.json |- /src |- index.html |- index.js
You can create these files quickly by issuing the following commands:
macOS / Linux:
mkdir src && touch src/index.html src/index.js
Windows:
mkdir src && echo.> src/index.html && echo.> src/index.js
mkdirtouchechotouchecho.Give some life to both files with the following content:
// src/index.js

const createElement = message => {
  const element = document.createElement("div");
  element.innerHTML = message;
  return element;
};

document.body.appendChild(createElement("ParcelJS ready to ship!"));
<!-- index.html  -->
<!DOCTYPE html>
<html lang="en">

<head>
  <meta charset="UTF-8">
  <title>ParcelJS Prototype</title>
</head>

<body>
  <script src="./index.js"></script>
</body>

</html>
In
src/index.html<body>index.js<script><script src="./index.js"></script>
When you link your main JavaScript file in your main HTML file using a relative path, ParcelJS will process the JavaScript file for you and replace its reference in
index.htmlYou have what you need to spin this app! ParcelJS comes with a built-in development server — there's no need to install any additional dependencies. This dev server automatically rebuilds your app when you make changes to your source files. To improve your development experience and efficiency, the ParcelJS dev server comes with Hot Module Replacement out-of-the-box.
To run the app, you need to point
parcelpackage.jsonsrc/index.html{ "name": "parceljs-prototype", "version": "1.0.0", "description": "", "main": "index.js", "scripts": { "dev": "parcel src/index.html", "build": "parcel build src/index.html" }, "keywords": [], "author": "", "license": "ISC", "devDependencies": { "parcel-bundler": "^1.10.3" } }
In the command line, execute the
devnpm run dev
In a few milliseconds, you'll see the following message in the command line:
Server running at http://localhost:1234
✨  Built in 731ms.
Point your browser to that address or click the following link to open it:
.http://localhost:1234
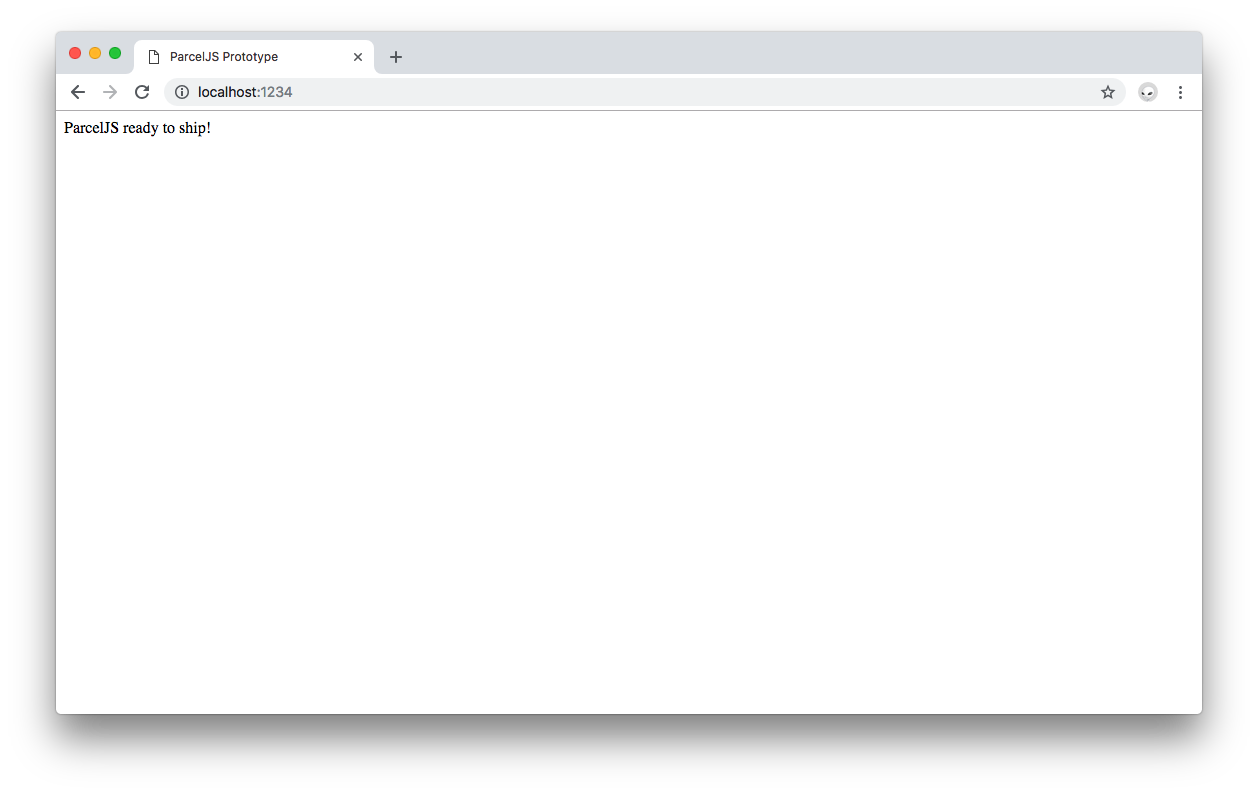
You'll now see the message
ParcelJS ready to ship!Well, that was easy! All that is left is to start adding more JavaScript modules, stylesheets, and image assets to make this app more elaborate.
Importing Modules Using Zero Config ParcelJS
Create another module that adds another element to the DOM. Under
srcbanner.jsmacOS / Linux:
touch src/banner.js
Windows:
echo.> src/banner.js
Open this file and populate it with this:
// src/banner.js

const createBanner = () => {
  const link = document.createElement("a");
  link.innerHTML = "Learn ParcelJS by Devon Govett.";
  link.href = "https://parceljs.org/";
  link.target = "_blank";
  return link;
};

export default createBanner;
Save the changes made to
src/banner.jsNext, update
src/index.js// src/index.js import createBanner from "./banner.js"; const createElement = message => { const element = document.createElement("div"); element.innerHTML = message; return element; }; document.body.appendChild(createElement("ParcelJS ready to ship!")); document.body.appendChild(createBanner());
The browser now shows the message with a hyperlink underneath:
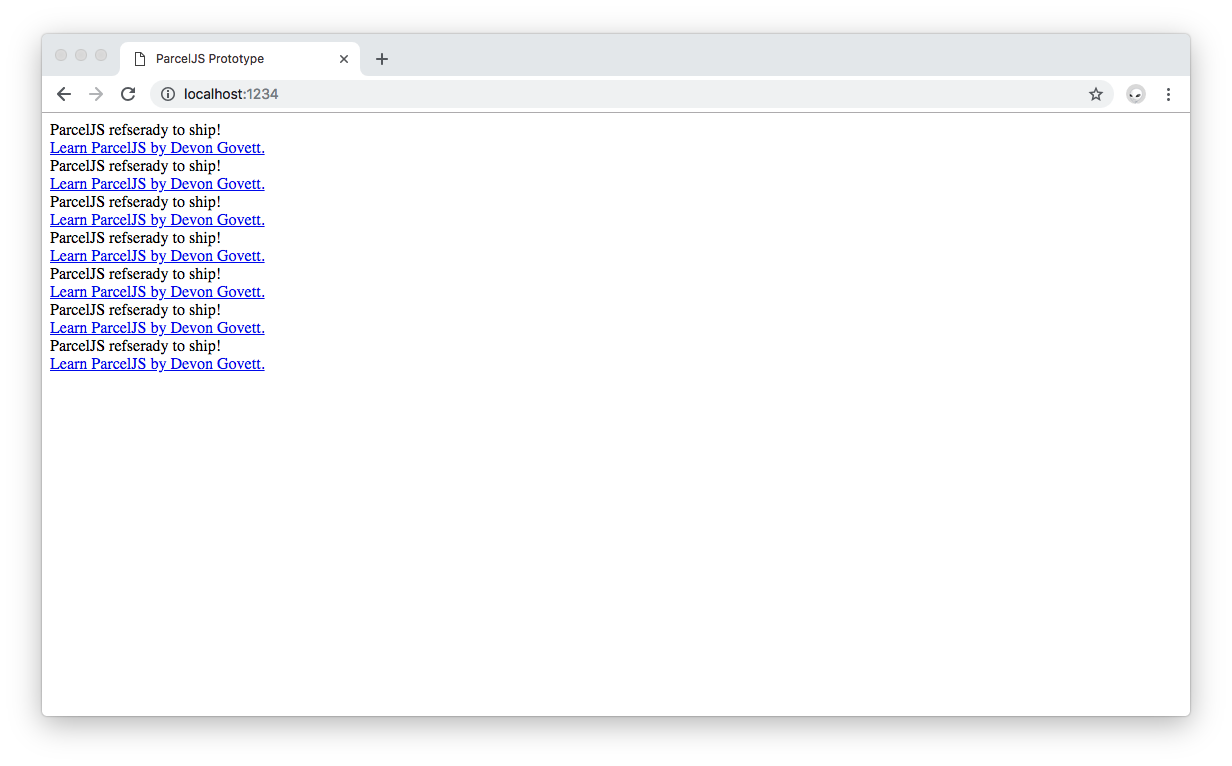
However, there is a problem introduced by the HMR system. At the end of
src/index.js<ENTER>What's going on? GitHub Issue #289 on the
repo has some answers. The main JavaScript file, parcel-bundler
src/index.jsdocument.body.appendChild()src/index.jsLooking closer at how ParcelJS handles Hot Module Replacement is needed.
ParcelJS Hot Module Replacement
From the ParcelJS documentation on Hot Module Replacement, we can learn the following key concepts:
- HMR automatically updates modules in the browser at runtime without the need for a whole page refresh.
- Application state can be retained throughout small changes.
- HMR supports JS and CSS files.
- In production mode, HMR is automatically disabled.
How does HMR work?
- ParcelJS rebuilds what changed.
- It sends an update to all the clients that are running the code.
- The new code replaces the old code and it's re-evaluated along with all parents.
ParcelJS offers the
module.hotmodule.hot.acceptmodule.hot.disposeThe ParcelJS docs explain that...
module.hot.acceptmodule.hot.disposeif (module.hot) { module.hot.dispose(function() { // module is about to be replaced }); module.hot.accept(function() { // module or one of its dependencies was just updated }); }
When working with WebGL and Canvas API or creating DOM elements using JavaScript, some users noticed performance issues as code was being re-run multiple times and DOM duplications happening. On GitHub Issue #289, the author explained the following:
🤔 Expected Behavior I'd like to develop with the same way that a JS file runs/loads in the browser (i.e. once, not many times). If possible, I'd like a way to replace JavaScript HMR with a simple
window.location.reload()😯 Current Behavior Currently the above code, when saved several times, will create several
canvas💁 Possible Solution A way of turning on/off regular hot reload. I am assuming this may already exist, but I couldn't find it, so perhaps it's more an issue of documentation?
During the discussion, the issue author also explains that:
Right now, any module change in your application will trigger a root-level reload, which means there is currently no clean way to avoid problems like window event listeners doubling up, simultaneous requestAnimationFrame loops, etc.
Devon Govett, author of ParcelJS, offered the issue author the following solution:
You could do something like this if you don't want the module to be re-executed:
if (module.hot) {
  module.hot.dispose(function() {
    window.location.reload();
  });
}
This will trigger the reload on module dispose rather than after the module has been re-executed.
You could also use that hook to store your state for later, and on accept restore it. HMR does take some work to get right, which is why things like react-hot-loader exist. Parcel is pretty much agnostic to that: it gives you hooks for when a module changes, it's up to you to decide what to do with that.
Right now, any module change in your application will trigger a root-level reload
That shouldn't be the case. The event starts at the module which changed, and bubbles up to the root. If you accept an update, the event stops bubbling up.
Jasper De Moor, another ParcelJS contributor, explains on GitHub Issue #344 the following in relation to DOM duplications:
As far as I know this is probably just improper HMR handling, you can write a dispose function to remove the object from DOM or an accept one to update it.
If you would use any framework this is already built-in but if you're using pure js this is not
This issue does create a bit of extra complexity but it also helps developers understand better how HMR works. Adding the code snippet suggested by Devon to
src/index.js// src/index.js import createBanner from "./banner.js"; const createElement = message => { const element = document.createElement("div"); element.innerHTML = message; return element; }; document.body.appendChild(createElement("ParcelJS ready to ship!")); document.body.appendChild(createBanner()); if (module.hot) { module.hot.dispose(function() { window.location.reload(); }); }
Save the file and reload the browser.
When pressing the
<ENTER>“Learn how ParcelJS Hot Module Replacement works for vanilla JavaScript projects.”
Tweet This
Importing NPM Modules Using ParcelJS
The same principle that you saw while importing a local module can be applied to any modules installed in your project through
npmlodashnpm install --save lodashimportnpm install --save lodash
Update
src/banner.js// src/banner.js import _ from "lodash"; const createBanner = () => { const link = document.createElement("a"); link.innerHTML = _.join(["Learn", "ParcelJS", "Today"], " "); link.href = "https://parceljs.org/"; link.target = "_blank"; return link; }; export default createBanner;
When importing local modules you use
as the module path. When importing NPM modules you use./relative-path-to-moduleas the module path.npm-module-name
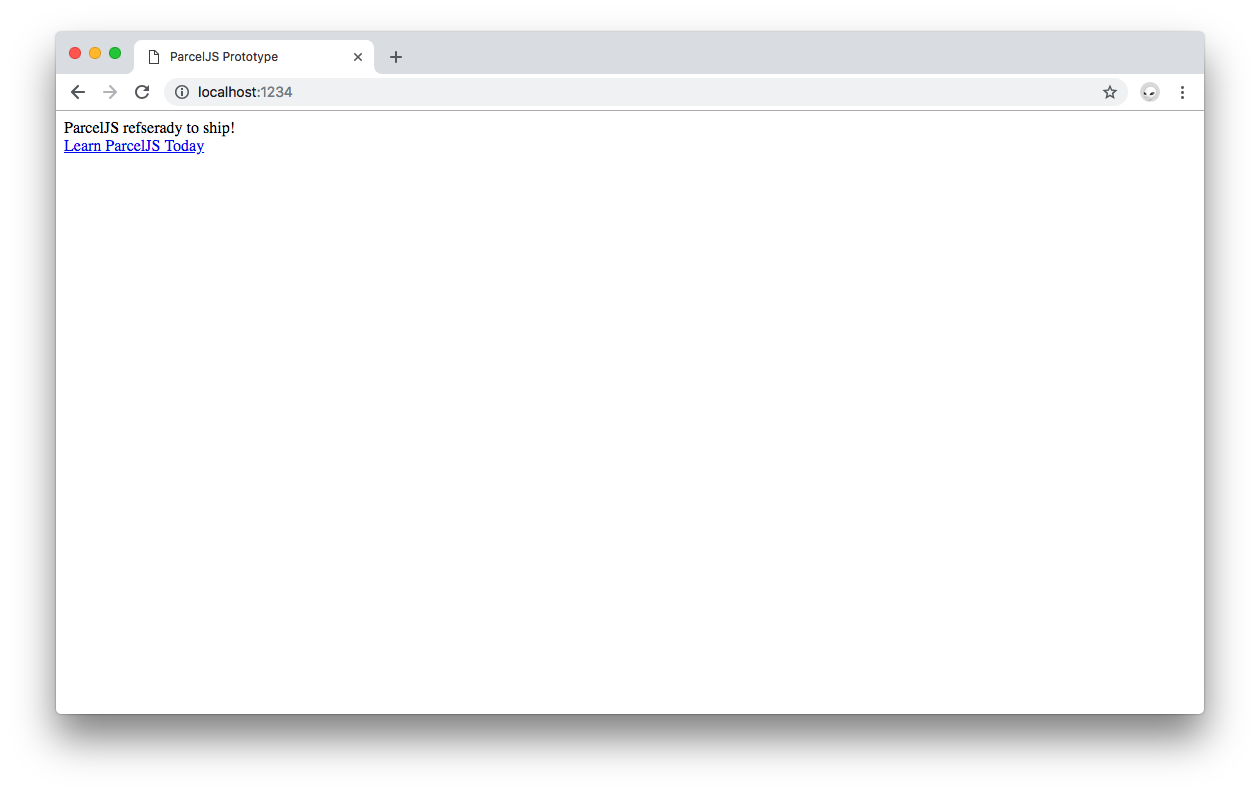
Save the changes on
src/banner.jsLearn ParcelJS TodayWhat about CSS?
Adding CSS Stylesheets to ParcelJS
Does the process of adding CSS files work in the same way as adding JavaScript modules? Let's see. You can make the current page look prettier as follows:
- Under
, createsrc
:banner.css
macOS / Linux:
touch src/banner.css
Windows:
echo.> src/banner.css
- Open
and populate it with the following:src/banner.css
/* src/banner.css */

.banner {
  position: fixed;

  background: #1a6db9;
  color: white;

  padding: 25px;
}
Save the changes made to
src/banner.cssNext update
src/banner.jsbanner.cssbanner<a>// src/banner.js import _ from "lodash"; import "./banner.css"; const createBanner = () => { const link = document.createElement("a"); link.innerHTML = _.join(["Learn", "ParcelJS", "Today"], " "); link.href = "https://parceljs.org/"; link.target = "_blank"; link.classList = "banner"; return link; }; export default createBanner;
Save
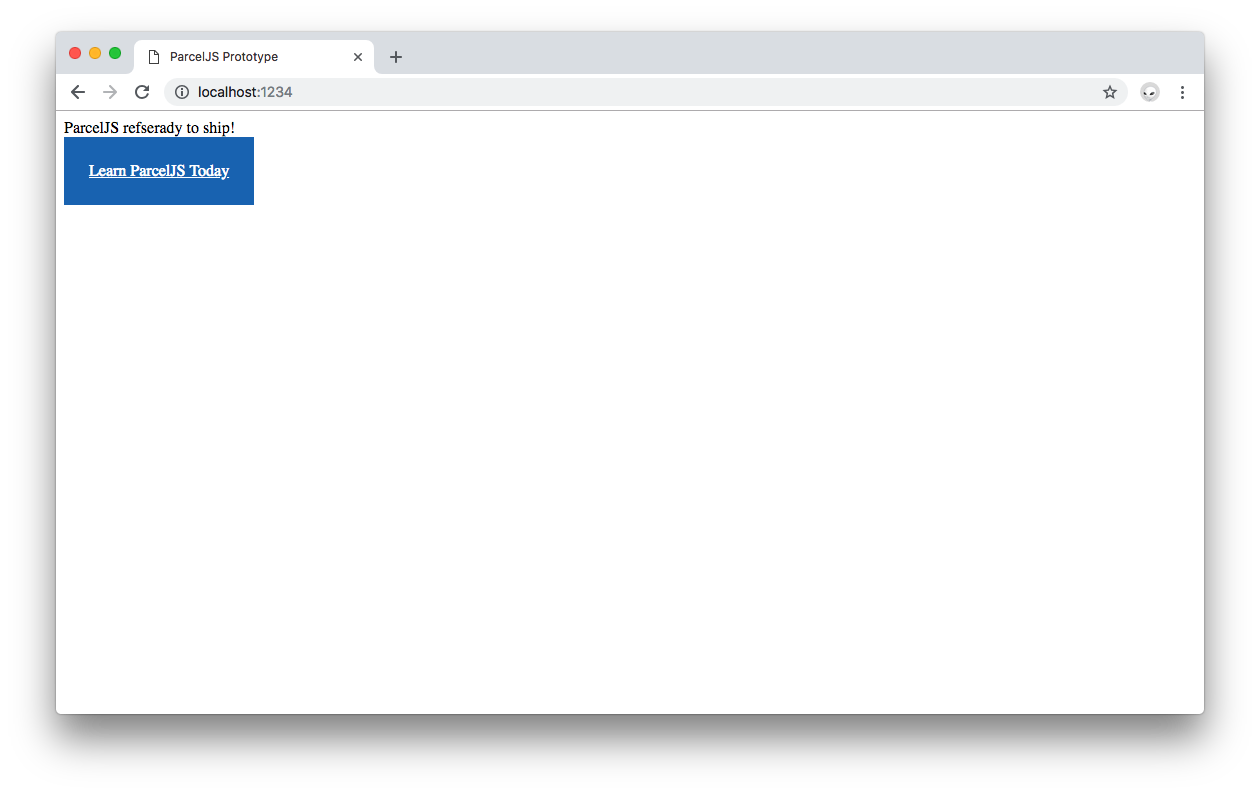
src/banner.jsRestart the ParcelJS dev server by stopping it and executing
npm run devThere you have! With ParcelJS, you were able to import CSS files into a JavaScript module without any additional configuration or plugin/loader installation.
What if you want to add some images? You can try that next.
Loading Images Using ParcelJS
Start by downloading the image of the ParcelJS logo. Save it as
parceljs-logo.pngsrc
Update
src/index.js// src/index.js import createBanner from "./banner.js"; import ParcelImg from "./parceljs-logo.png"; const createElement = message => { const element = document.createElement("div"); element.innerHTML = message; return element; }; const createImage = image => { const element = document.createElement("div"); const imageElement = new Image(); imageElement.src = image; element.appendChild(imageElement); return element; }; document.body.appendChild(createElement("ParcelJS ready to ship!")); document.body.appendChild(createBanner()); document.body.appendChild(createImage(ParcelImg)); if (module.hot) { module.hot.dispose(function() { window.location.reload(); }); }
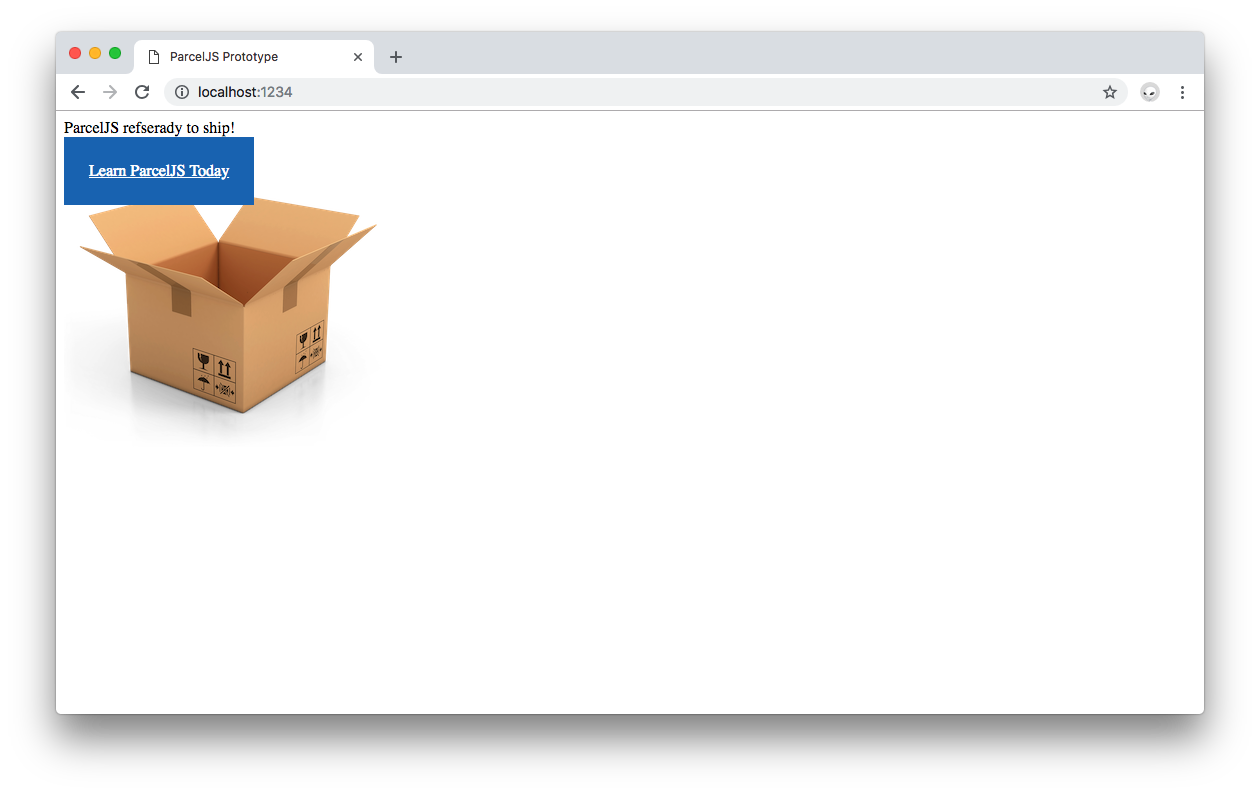
Save the file and take a look at the browser. The ParcelJS logo now loads on the screen:
Just like that, you were able to import image files into a JavaScript module. It happened once again without any additional configuration or plugin/loader installation.
Building a JavaScript App with ParcelJS
As a final note of bundling apps with Parcel, once you want to build your app for production, the build mode turns off file watching, Hot Module Replacement, and only builds once. Minification is enabled for all output bundles to reduce their file size.
This can be accomplished by running the NPM script that you defined earlier:
npm run build
One the
builddistConclusion
To create simple JavaScript prototypes quickly, JavaScript, CSS, and image assets are plenty to get a lot done. You now count with the knowledge on how ParcelJS helps you create a development environment for JavaScript projects with zero config needed. Use this solid tool locally to create beautiful JavaScript apps fast or, if you prefer to, feel free to use cloud environments that use ParcelJS such as CodeSandbox, the online code editor for Web.
You can find a polished version of this exercise on the
repo on GitHub. The final version uses Google Fonts and an improved structure to create a much better looking ParcelJS banner using ParcelJS!parcel-prototype
Aside: Auth0 Authentication with JavaScript
At Auth0, we make heavy use of full-stack JavaScript to help our customers to manage user identities, including password resets, creating, provisioning, blocking, and deleting users. Therefore, it must come as no surprise that using our identity management platform on JavaScript web apps is a piece of cake.
Auth0 offers a free tier to get started with modern authentication. Check it out, or sign up for a free Auth0 account here!
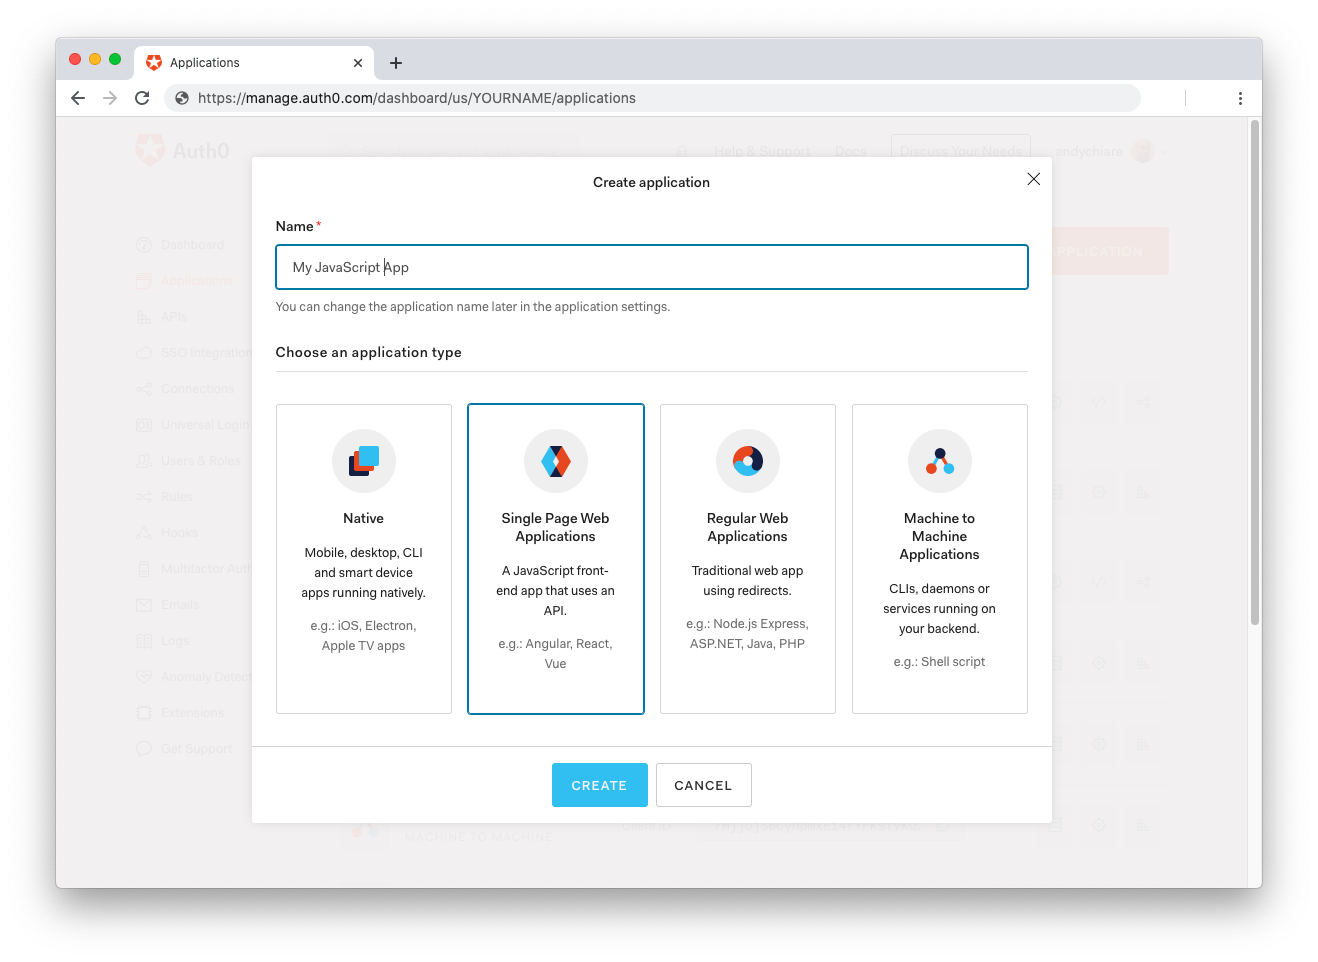
Then, go to the Applications section of the Auth0 Dashboard and click on "Create Application". On the dialog shown, set the name of your application and select Single Page Web Applications as the application type:
After the application has been created, click on "Settings" and take note of the domain and client id assigned to your application. In addition, set the Allowed Callback URLs and Allowed Logout URLs fields to the URL of the page that will handle login and logout responses from Auth0. In the current example, the URL of the page that will contain the code you are going to write (e.g.
http://localhost:8080Now, in your JavaScript project, install the
library like so:auth0-spa-js
npm install @auth0/auth0-spa-js
Then, implement the following in your JavaScript app:
import createAuth0Client from '@auth0/auth0-spa-js';

let auth0Client;

async function createClient() {
  return await createAuth0Client({
    domain: 'YOUR_DOMAIN',
    client_id: 'YOUR_CLIENT_ID',
  });
}

async function login() {
  await auth0Client.loginWithRedirect();
}

function logout() {
  auth0Client.logout();
}

async function handleRedirectCallback() {
  const isAuthenticated = await auth0Client.isAuthenticated();

  if (!isAuthenticated) {
    const query = window.location.search;
    if (query.includes('code=') && query.includes('state=')) {
      await auth0Client.handleRedirectCallback();
      window.history.replaceState({}, document.title, '/');
    }
  }

  await updateUI();
}

async function updateUI() {
  const isAuthenticated = await auth0Client.isAuthenticated();

  const btnLogin = document.getElementById('btn-login');
  const btnLogout = document.getElementById('btn-logout');

  btnLogin.addEventListener('click', login);
  btnLogout.addEventListener('click', logout);

  btnLogin.style.display = isAuthenticated ? 'none' : 'block';
  btnLogout.style.display = isAuthenticated ? 'block' : 'none';

  if (isAuthenticated) {
    const username = document.getElementById('username');
    const user = await auth0Client.getUser();

    username.innerText = user.name;
  }
}

window.addEventListener('load', async () => {
  auth0Client = await createClient();

  await handleRedirectCallback();
});
Replace the
andYOUR_DOMAINplaceholders with the actual values for the domain and client id you found in your Auth0 Dashboard.YOUR_CLIENT_ID
Then, create your UI with the following markup:
<p>Welcome <span id="username"></span></p>
<button type="submit" id="btn-login">Sign In</button>
<button type="submit" id="btn-logout" style="display:none;">Sign Out</button>
Your application is ready to authenticate with Auth0!
Check out the Auth0 SPA SDK documentation to learn more about authentication and authorization with JavaScript and Auth0.
About the author

Dan Arias
Staff Developer Advocate
The majority of my engineering work revolves around AWS, React, and Node, but my research and content development involves a wide range of topics such as Golang, performance, and cryptography. Additionally, I am one of the core maintainers of this blog. Running a blog at scale with over 600,000 unique visitors per month is quite challenging!
I was an Auth0 customer before I became an employee, and I've always loved how much easier it is to implement authentication with Auth0. Curious to try it out? Sign up for a free account ⚡️.View profile


