TL;DR: Google has just released its Accelerated Mobile Pages (AMP) project, a library that provides custom components for making websites very fast. It takes a prescriptive approach that puts tight restrictions on developers but promises great speed gains. In this article, we take a look at some of AMP's features and build a demo page. Check out the repo to get the code for this tutorial and the AMP project for docs and further info. You can also check out the live demo.
It's easy for sites with rich content to run into performance issues on mobile devices. If you've ever browsed a content site that has a heavy footprint on desktop, chances are, the site wasn't the fastest you've ever visited when you viewed it on your phone or tablet.
Google's Accelerated Mobile Pages (AMP) project aims to solve these issues and make the user's browsing experience "instant", especially on resource-constrained mobile devices. The AMP project relies on existing standards and current technologies, so how exactly does it accomplish better performance? Largely by restricting what developers are able to incorporate into their sites. AMP also provides its own implementations for many commonly used features, which ensures that the features are optimized according to the AMP spec.
The AMP runtime JavaScript also takes care of a bunch of optimizations. These are things like loading only the content that is above the fold first and prioritizing or delaying image loading, among others.
Accelerated Mobile Pages (AMP) Limitations
Because AMP imposes many restrictions on us with the aim of making content sites really fast, it might be good to start off by going over what we can't do in it.
Here's a non-exhaustive list:
- No developer-written or third-party JavaScript
- No input elements of any kind, including standard
andinputtextarea - No external style sheets and only one
tag in the document headstyle - No inline styles
- Style rules must be at or below 50kb
That's quite a large set of restrictions, and we're just scratching the surface! While it might seem a bit too restrictive, there are good reasons for these limitations. Remember, AMP is all about content sites. There are many sites out there that force users to download heaps of JavaScript and CSS just for some simple animations or UI elements, which they could easily optimize or do without. Also, because most content sites simply display text and images (things like comment areas notwithstanding), the bet is that there isn't a huge need for input elements.
AMP Components
AMP comes with a small set of custom components to provide ways of implementing commonly needed features. It does so with custom elements that coordinate JavaScript execution (where applicable) and generally optimize performance. For example, the
amp-imgimgamp-img“AMP comes with a small set of custom components to provide ways of implementing commonly needed features.”
Tweet This
AMP also provides extended components that can be requested from separate JS files to do even more. Here's a list of both the core and extended AMP components:
amp-imgamp-audioamp-pixelamp-videoamp-carouselamp-lightboxamp-adamp-animamp-iframeamp-instagramamp-twitteramp-youtubeThe AMP Validator
We've gone over some of the restrictions that AMP puts on us to accomplish better performance, but how are these restrictions enforced? If we put disallowed markup or include our own scripts, the page will still render, but of course, we will be breaking the AMP rules. To help us see when we break the rules, AMP provides a validator that will let us know in the console what we've done wrong. To enable the validator, we simply need to browse our site with
#development=1Let's Build an AMP Page
Let's see how we can use some of AMP's features by building our own site. We'll get a look at some of the core and extended features, but we won't be able to cover everything.
Required HTML
The first step is to create an AMP HTML document and include the AMP project JavaScript. AMP HTML documents are denoted with the tag
<html ⚡><html amp><!doctype html> <html ⚡> <head> <meta charset="utf-8"> <title>Auth0 AMP</title> <link rel="canonical" href="index.html"> <meta name="viewport" content="width=device-width,initial-scale=1,minimum-scale=1,maximum-scale=1,user-scalable=no,minimal-ui"> <script async src="https://cdn.ampproject.org/v0.js"></script> <style>body {opacity: 0}</style><noscript><style>body {opacity: 1}</style></noscript> </head> <body> </body> </html>
It's important to note that everything we've included here is required for an AMP page. Why are we hiding the
bodyThe
canonicalStyles
All styles must go in a
styleheadamp-custom... <style amp-custom> /* Styles here */ </style>
We won't write out all of the styles for this example page here, but you can get them on GitHub if you'd like
Images
Next, let's put in a header image and title line.
... <header class="header-image"> <amp-img src="https://cdn.auth0.com/website/jobs/team_2.jpg" layout="responsive" width="2000" height="1035" alt="Team"> </amp-img> <div class="title-section"> <h1>A Token Walks Into a SPA</h1> <div class="author"> <amp-img src="https://www.gravatar.com/avatar/df6c864847fba9687d962cb80b482764??s=250" alt="Gonto" width="80" height="80"> </amp-img> <span>By: Gonto · October 12, 2015</span> </div> </div> </header> ...
We're using the core
amp-imgamp-imgLightbox
Next, let's put some content and a lightbox in place.
...

  <div class="content">
      <article>
        <div class="section">
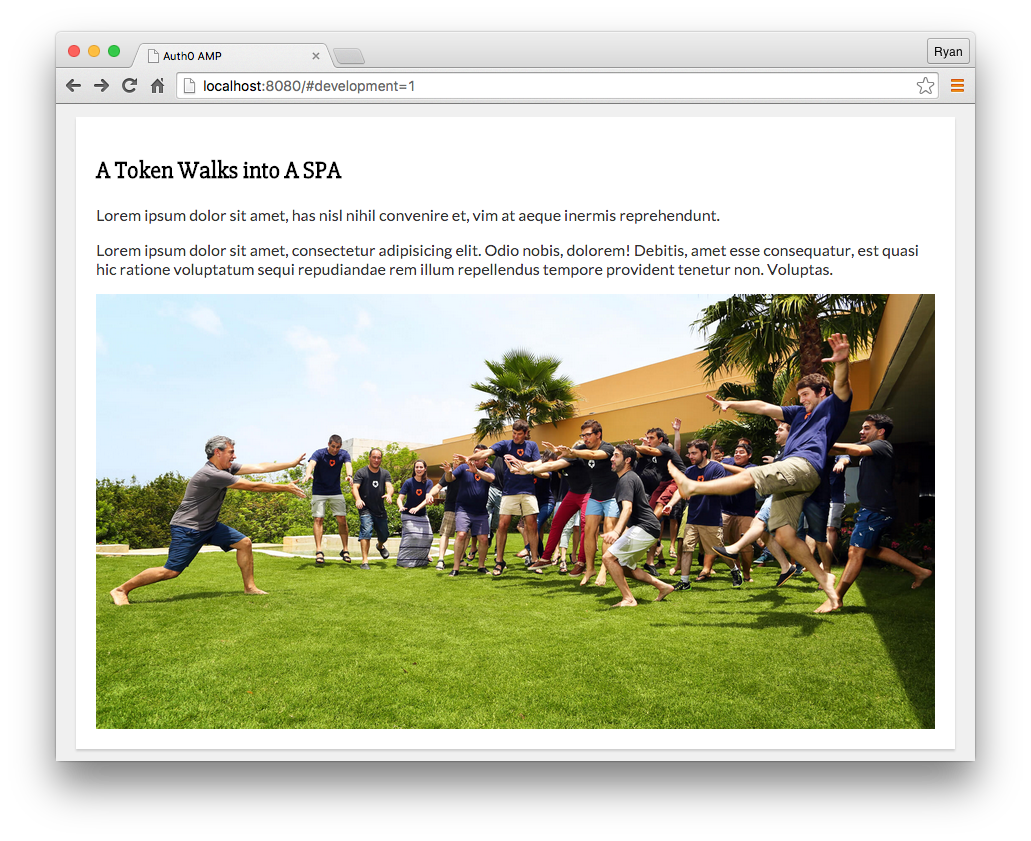
          <h2>A Token Walks into A SPA</h2>
          <p>
            Lorem ipsum dolor sit amet, has nisl nihil convenire et, vim at aeque inermis reprehendunt.
          </p>
          <p>
            Lorem ipsum dolor sit amet, consectetur adipisicing elit. Odio nobis, dolorem! Debitis, amet esse consequatur, est quasi hic ratione voluptatum sequi repudiandae rem illum repellendus tempore provident tenetur non. Voluptas.
          </p>

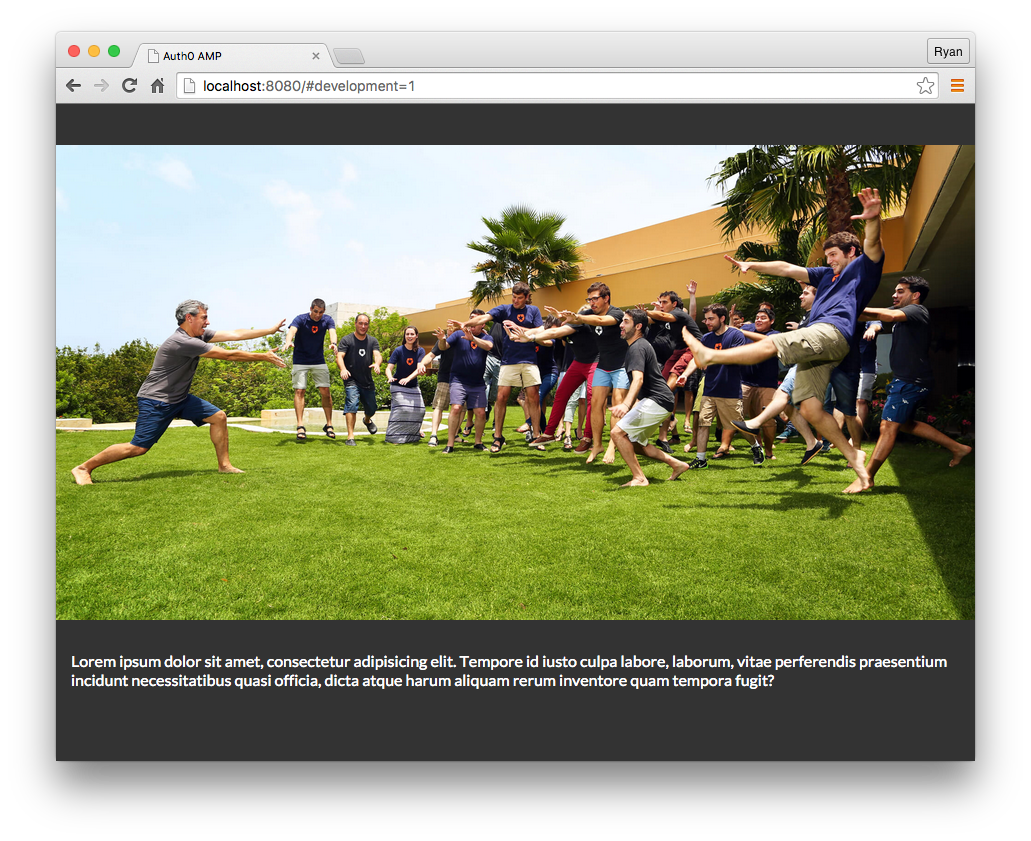
          <amp-lightbox id="lightbox" class="lightbox" layout="nodisplay">
            <div class="lightbox-content">
              <amp-img
                src="https://cdn.auth0.com/website/jobs/team_2.jpg"
                width="2000"
                height="1035"
                layout="responsive">
              </amp-img>
              <p>
                Lorem ipsum dolor sit amet, consectetur adipisicing elit. Tempore id iusto culpa labore, laborum, vitae perferendis praesentium incidunt necessitatibus quasi officia, dicta atque harum aliquam rerum inventore quam tempora fugit?
              </p>
            </div>
          </amp-lightbox>

          <amp-img id="main-image"
              src="https://cdn.auth0.com/website/jobs/team_2.jpg"
              srcset="https://cdn.auth0.com/website/jobs/team_2.jpg"
              placeholder
              width="2000" height="1035"
              layout="responsive"
              on="tap:lightbox">
          </amp-img>

        </div>

...
This time, we're making use of
amp-lightbox... <script async custom-element="amp-lightbox" src="https://cdn.ampproject.org/v0/amp-lightbox-0.1.js"></script> ...
The lightbox is initially hidden with
layout="nodisplay"amp-lightboxamp-imageon="tap:lightbox"amp-imgAdvertisements
Many content sites keep the lights on with revenue generated by ads. Because ad placement providers rely on JavaScript to do their thing, AMP provides components for many of the popular ones. Currently supported providers include the following:
- A9
- AdReactor
- AdSense
- AdTech
- Doubleclick
We can place ads on our page much like we normally would, but this time, we use the
amp-ad... <div class="ad-container"> <amp-ad width="320" height="250" type="adsense" data-ad-client="ca-pub-8125901705757971" data-ad-slot="7783467241"> </amp-ad> <amp-ad width="320" height="250" type="doubleclick" data-slot="/4119129/mobile_ad_banner"> </amp-ad> </div> ...
We specify which provider we want on the
typeVideos
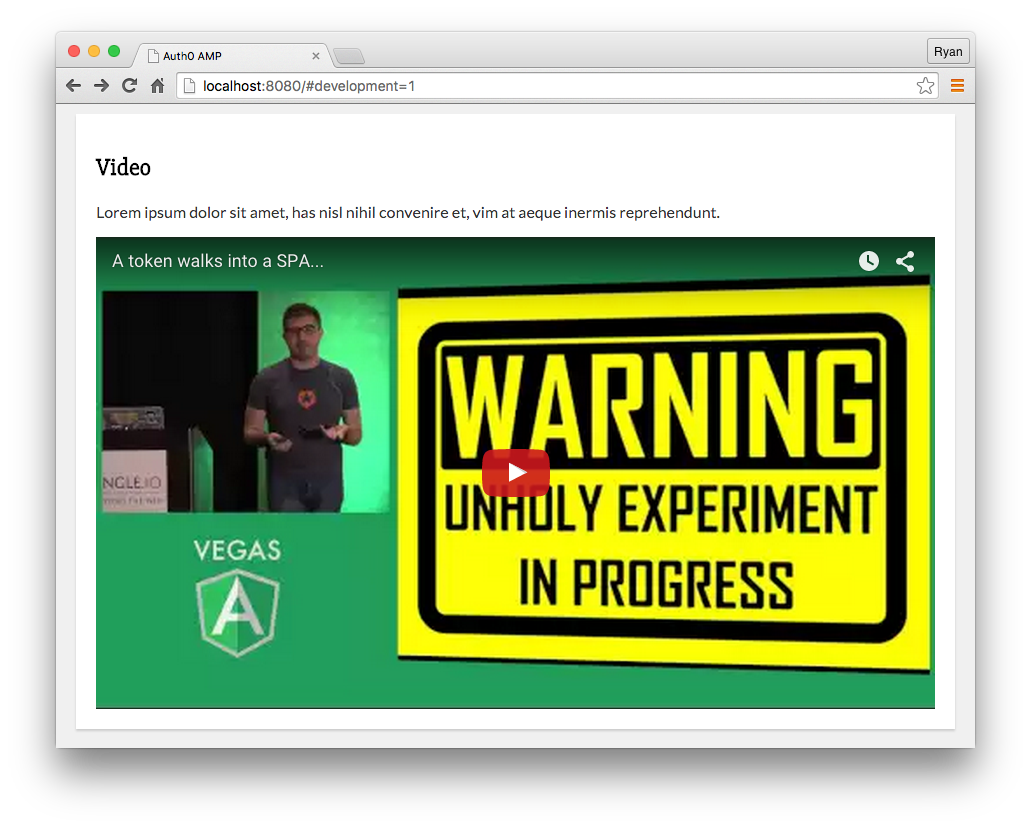
AMP gives us a component called
amp-videoamp-youtube... <div class="section"> <h2>Video</h2> <p> Lorem ipsum dolor sit amet, has nisl nihil convenire et, vim at aeque inermis reprehendunt. </p> <amp-youtube video-id="pgFtp2LgwoE" layout="responsive" width="480" height="270"> </amp-youtube> </div> ...
We are able to specify the slug of the video we want on the
video-idAgain, because this is an extended component, we need to bring in the AMP JavaScript for it. Let's load that in the
head... <script async custom-element="amp-youtube" src="https://cdn.ampproject.org/v0/amp-youtube-0.1.js"></script> ...
Carousels
The final extended component that we'll see is
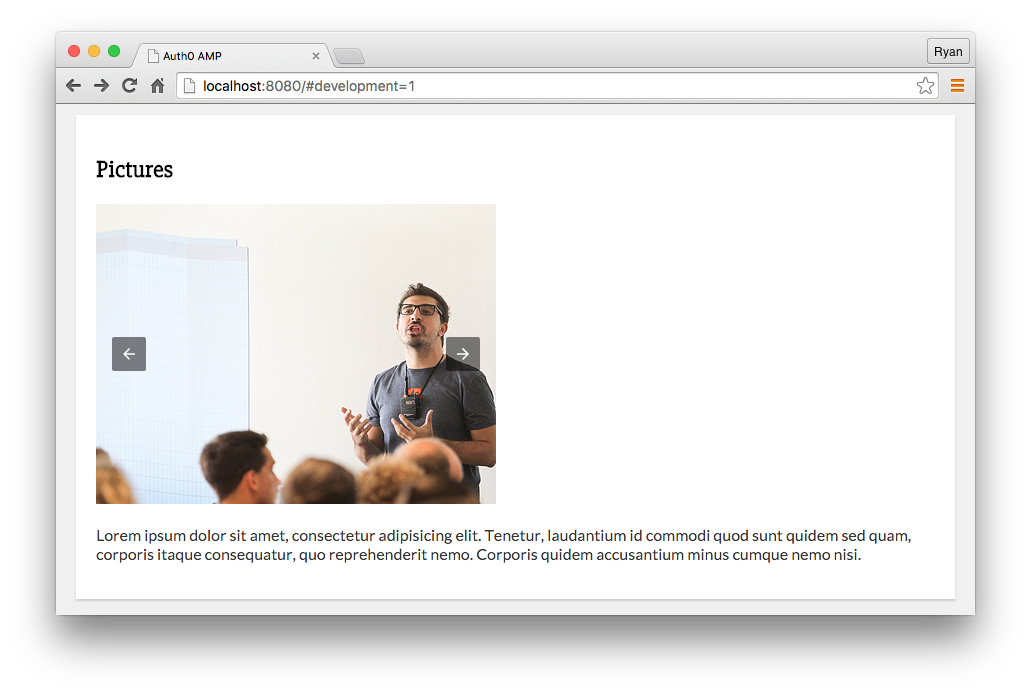
amp-carousel... <div class="section"> <h2>Pictures</h2> <amp-carousel id="main-carousel" width="400" height="300" type="slides"> <amp-img src="https://www.jsconfar.com/static/images/speakers/workshop-gonto.jpeg" width="400" height="400"> </amp-img> <amp-img src="https://c2.staticflickr.com/6/5758/20330662003_d444cd54d0.jpg" width="500" height="333"> </amp-img> <amp-img src="http://i.ytimg.com/vi/fWar75R1NGo/hqdefault.jpg" width="480" height="360"> </amp-img> </amp-carousel> <p> Lorem ipsum dolor sit amet, consectetur adipisicing elit. Tenetur, laudantium id commodi quod sunt quidem sed quam, corporis itaque consequatur, quo reprehenderit nemo. Corporis quidem accusantium minus cumque nemo nisi. </p> </div> ...
The carousel works by wrapping
amp-imgamp-carousel... <script async custom-element="amp-carousel" src="https://cdn.ampproject.org/v0/amp-carousel-0.1.js"></script> ...
The carousel comes with some default arrows to move left and right, but what if we wanted to put our own in? These arrows are SVG elements, and we can easily change the SVG up with something of our own with some CSS.
An example of the override from the AMP project docs:
.amp-carousel-button-prev {
  left: 5%;
  background-image: url('data:image/svg+xml;utf8,<svg xmlns="http://www.w3.org/2000/svg" width="18" height="18" viewBox="0 0 18 18"><path d="M11.56 5.56L10.5 4.5 6 9l4.5 4.5 1.06-1.06L8.12 9z" fill="#fff" /></svg>');
}
Again, we haven't included the styles for this sample page above, but they are included with the tutorial repo. You can also see the completed example by viewing the live demo.
Aside: Using Auth0 with your AMP Pages is Easy
Even content sites often require authentication. As was mentioned, we can't put input elements in an AMP document, nor can we use any custom JavaScript. Because of this, it will be necessary to have a login page or box that redirects to an AMP document that is content only.
This can be done in less than 10 minutes using Auth0's hosted login box. For example, if your account name is
sampleshttps://samples.auth0.com/login?client=BUIJSW9x60sIHBw8Kd9EmCbj8eDIFxDC&redirect_uri=YOUR_AMP_APPYOUR_AMP_APP_URLWrapping Up
As we've seen, AMP puts a lot of restrictions on us and requires that we use special components for things like images, video, and ads. This is all for the sake of making sites faster, and the AMP project has stated that it has observed speed improvements of 15% to 85%. This would certainly be a welcome enhancement for end users of many content sites, especially mobile users. However, as developers, it could be said that AMP is just too limiting for us to use in our projects. Some have even expressed that a Google-specific way of writing the web is ultimately bad for it.
I think AMP is an interesting project that will work well in acheiving a faster browsing experience for users of content sites. While we should be writing efficient pages by dropping JavaScript that isn't needed, paying attention to how our scripts are loaded, and generally just be doing better house-keeping, it's becoming harder to do that with the modern web. For many, it's ultimately easier to follow a prescription for how to make sites faster than it is to be disciplined enough to follow best-practices. At the same time, there is a part of me that feels as if we should just do a better job of getting back to basics with our sites, which would solve a lot (albeit perhaps not all) of the issues that AMP is aiming to solve.
About the author

Ryan Chenkie
Developer
Ryan is a Google Developer Expert, the host of the Entrepreneurial Coder Podcast, the author of Securing Angular Applications, and an all-around fanatic about application security.View profile


