TL;DR: Atwood's law states that Any application that can be written in JavaScript, will eventually be written in JavaScript. In 2018, eleven years after this law was proposed, JavaScript is now the most popular language in the world. In the first part of this tutorial, we covered database and backend deployments. In the second and final part of this tutorial, I'll show you how to tie everything together by learning to deploy JavaScript Single Page Applications and static websites to different cloud platforms. This article is not about performance.
Application Recap
The Single Page Application we will deploy in this tutorial can be found on GitHub. The backend exists here.
Clone the frontend repository to your local machine. Run
npm installnpm run dev
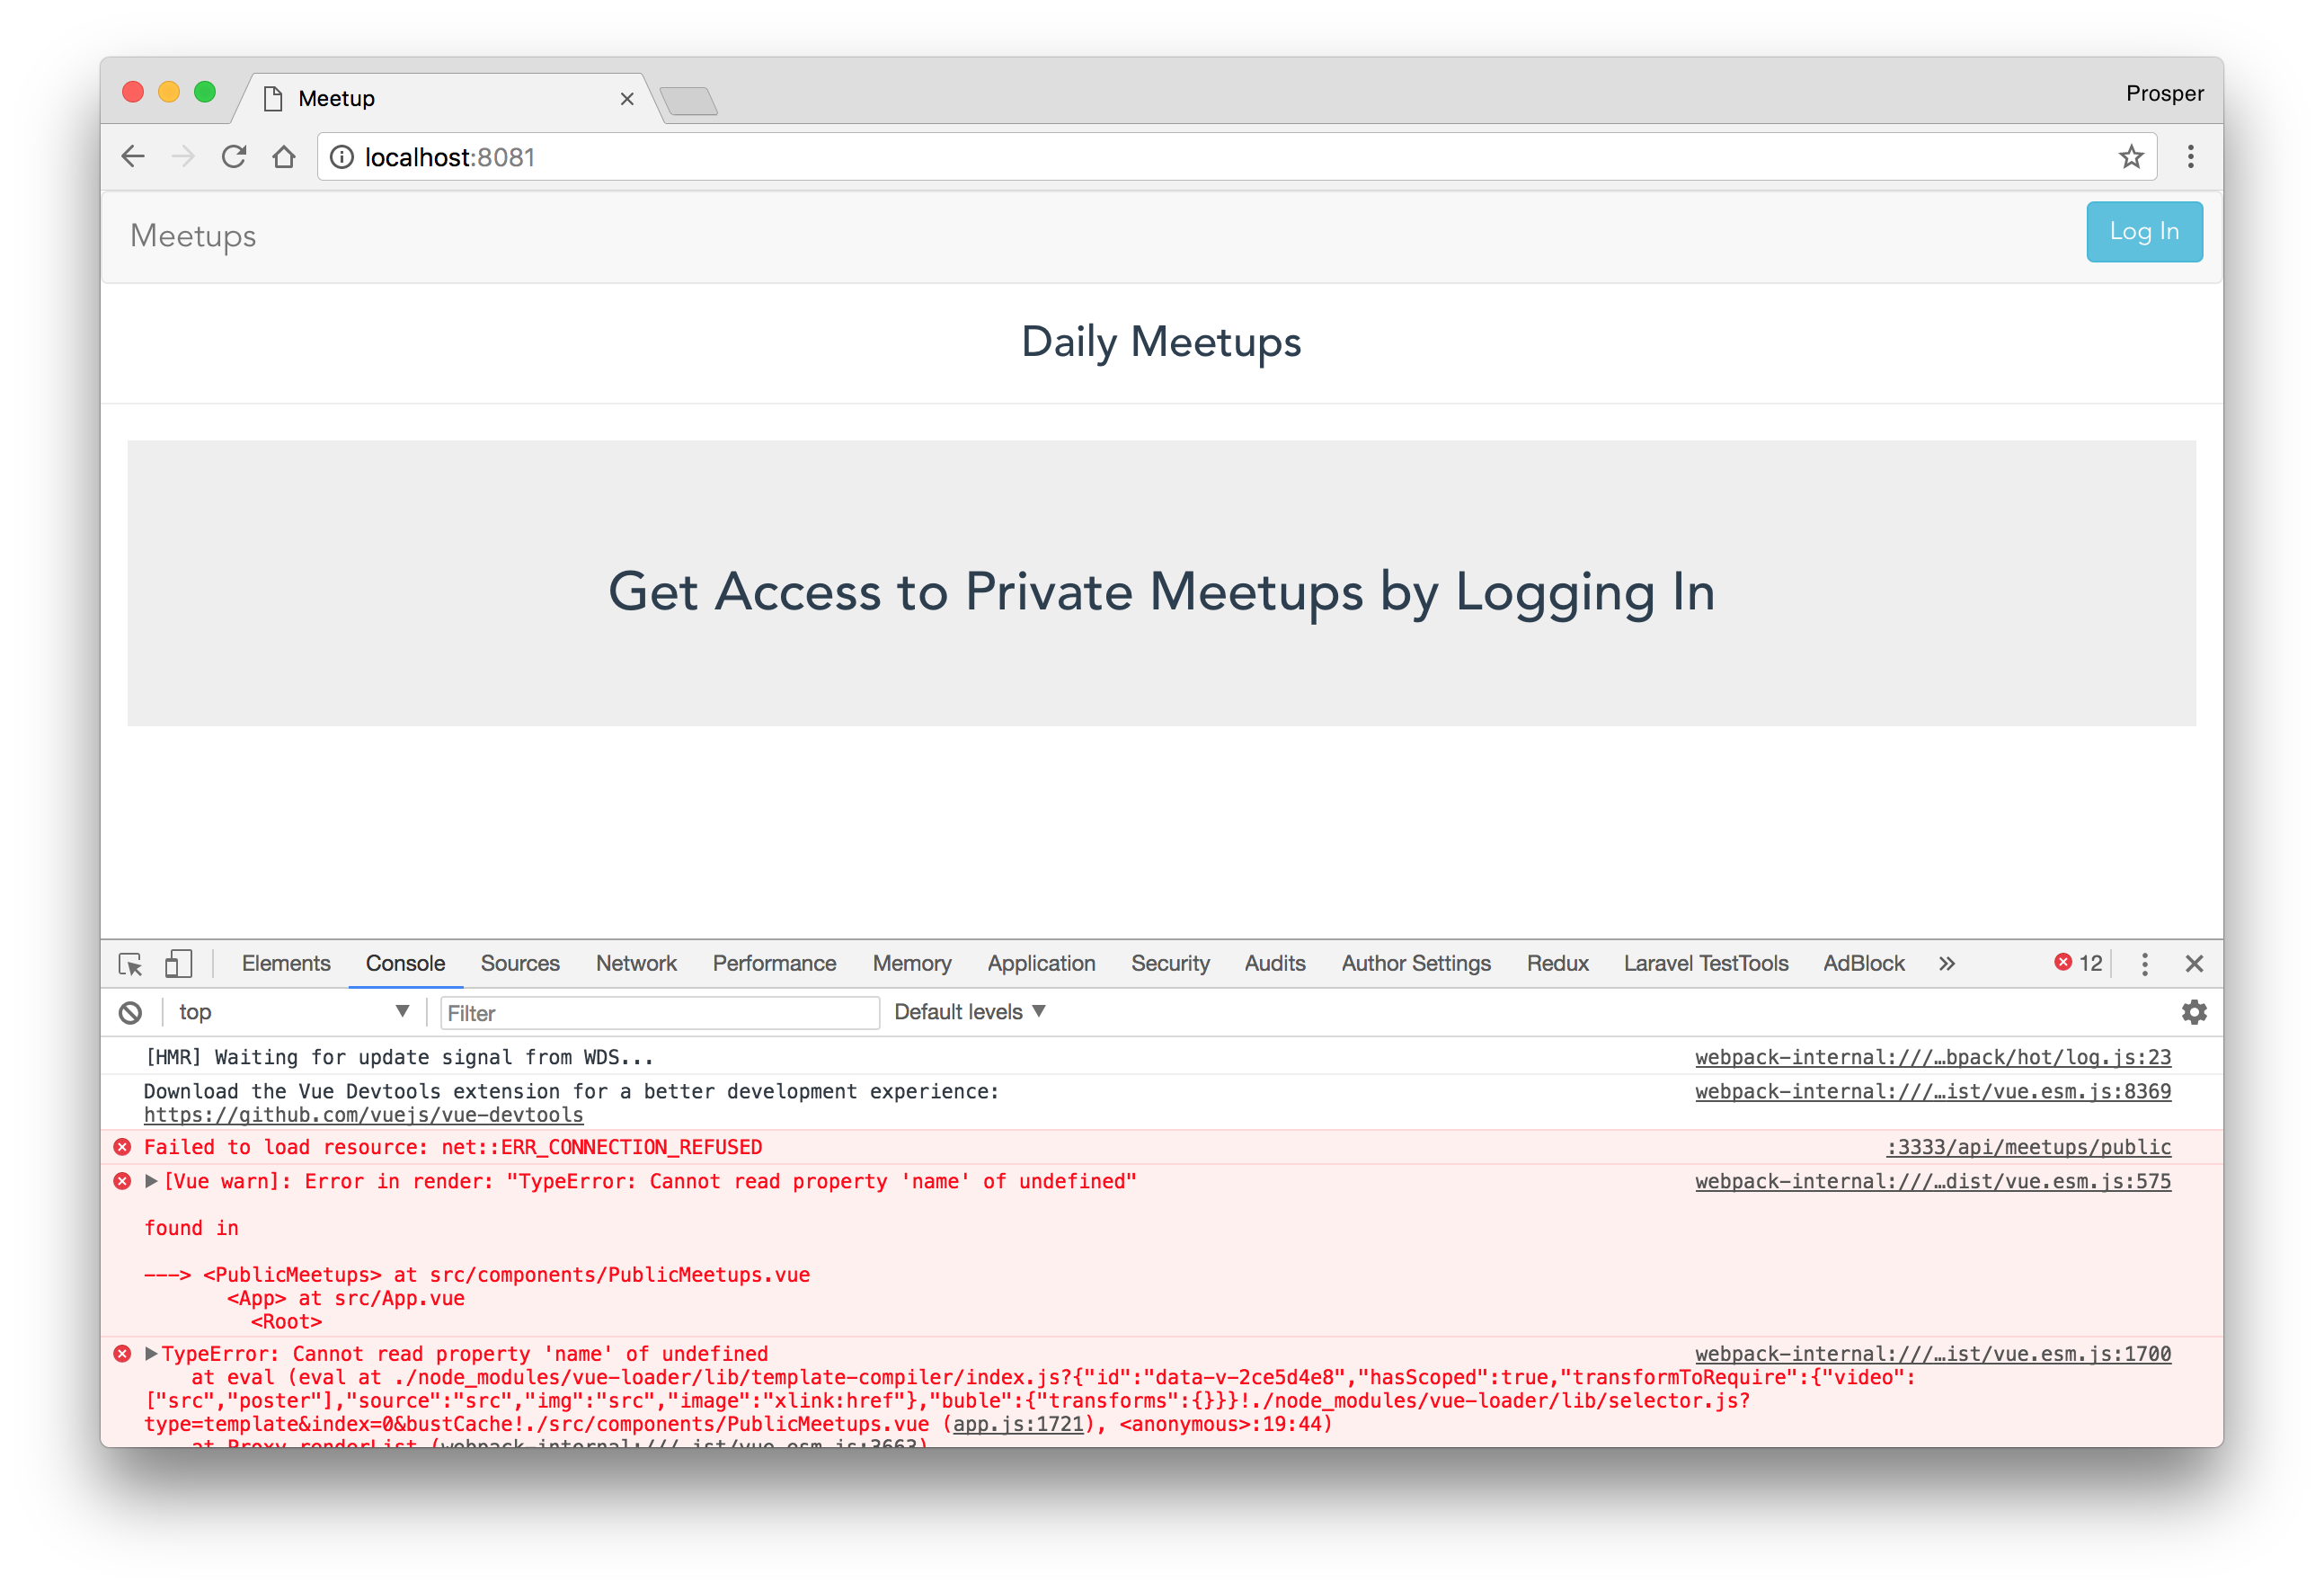
The app should show a list of public meetups. When a user is logged-in, a list of private meetups should be shown. Unfortunately, neither of them shows on the screen. Why? We are not connected to a live backend.
Open up
utils/meetup-api.jsBASE_URLLet's go with the Heroku backend URL which is,
https://meetupservice.herokuapp.comBASE_URLhttps://meetupservice.herokuapp.comNow, run the app again.
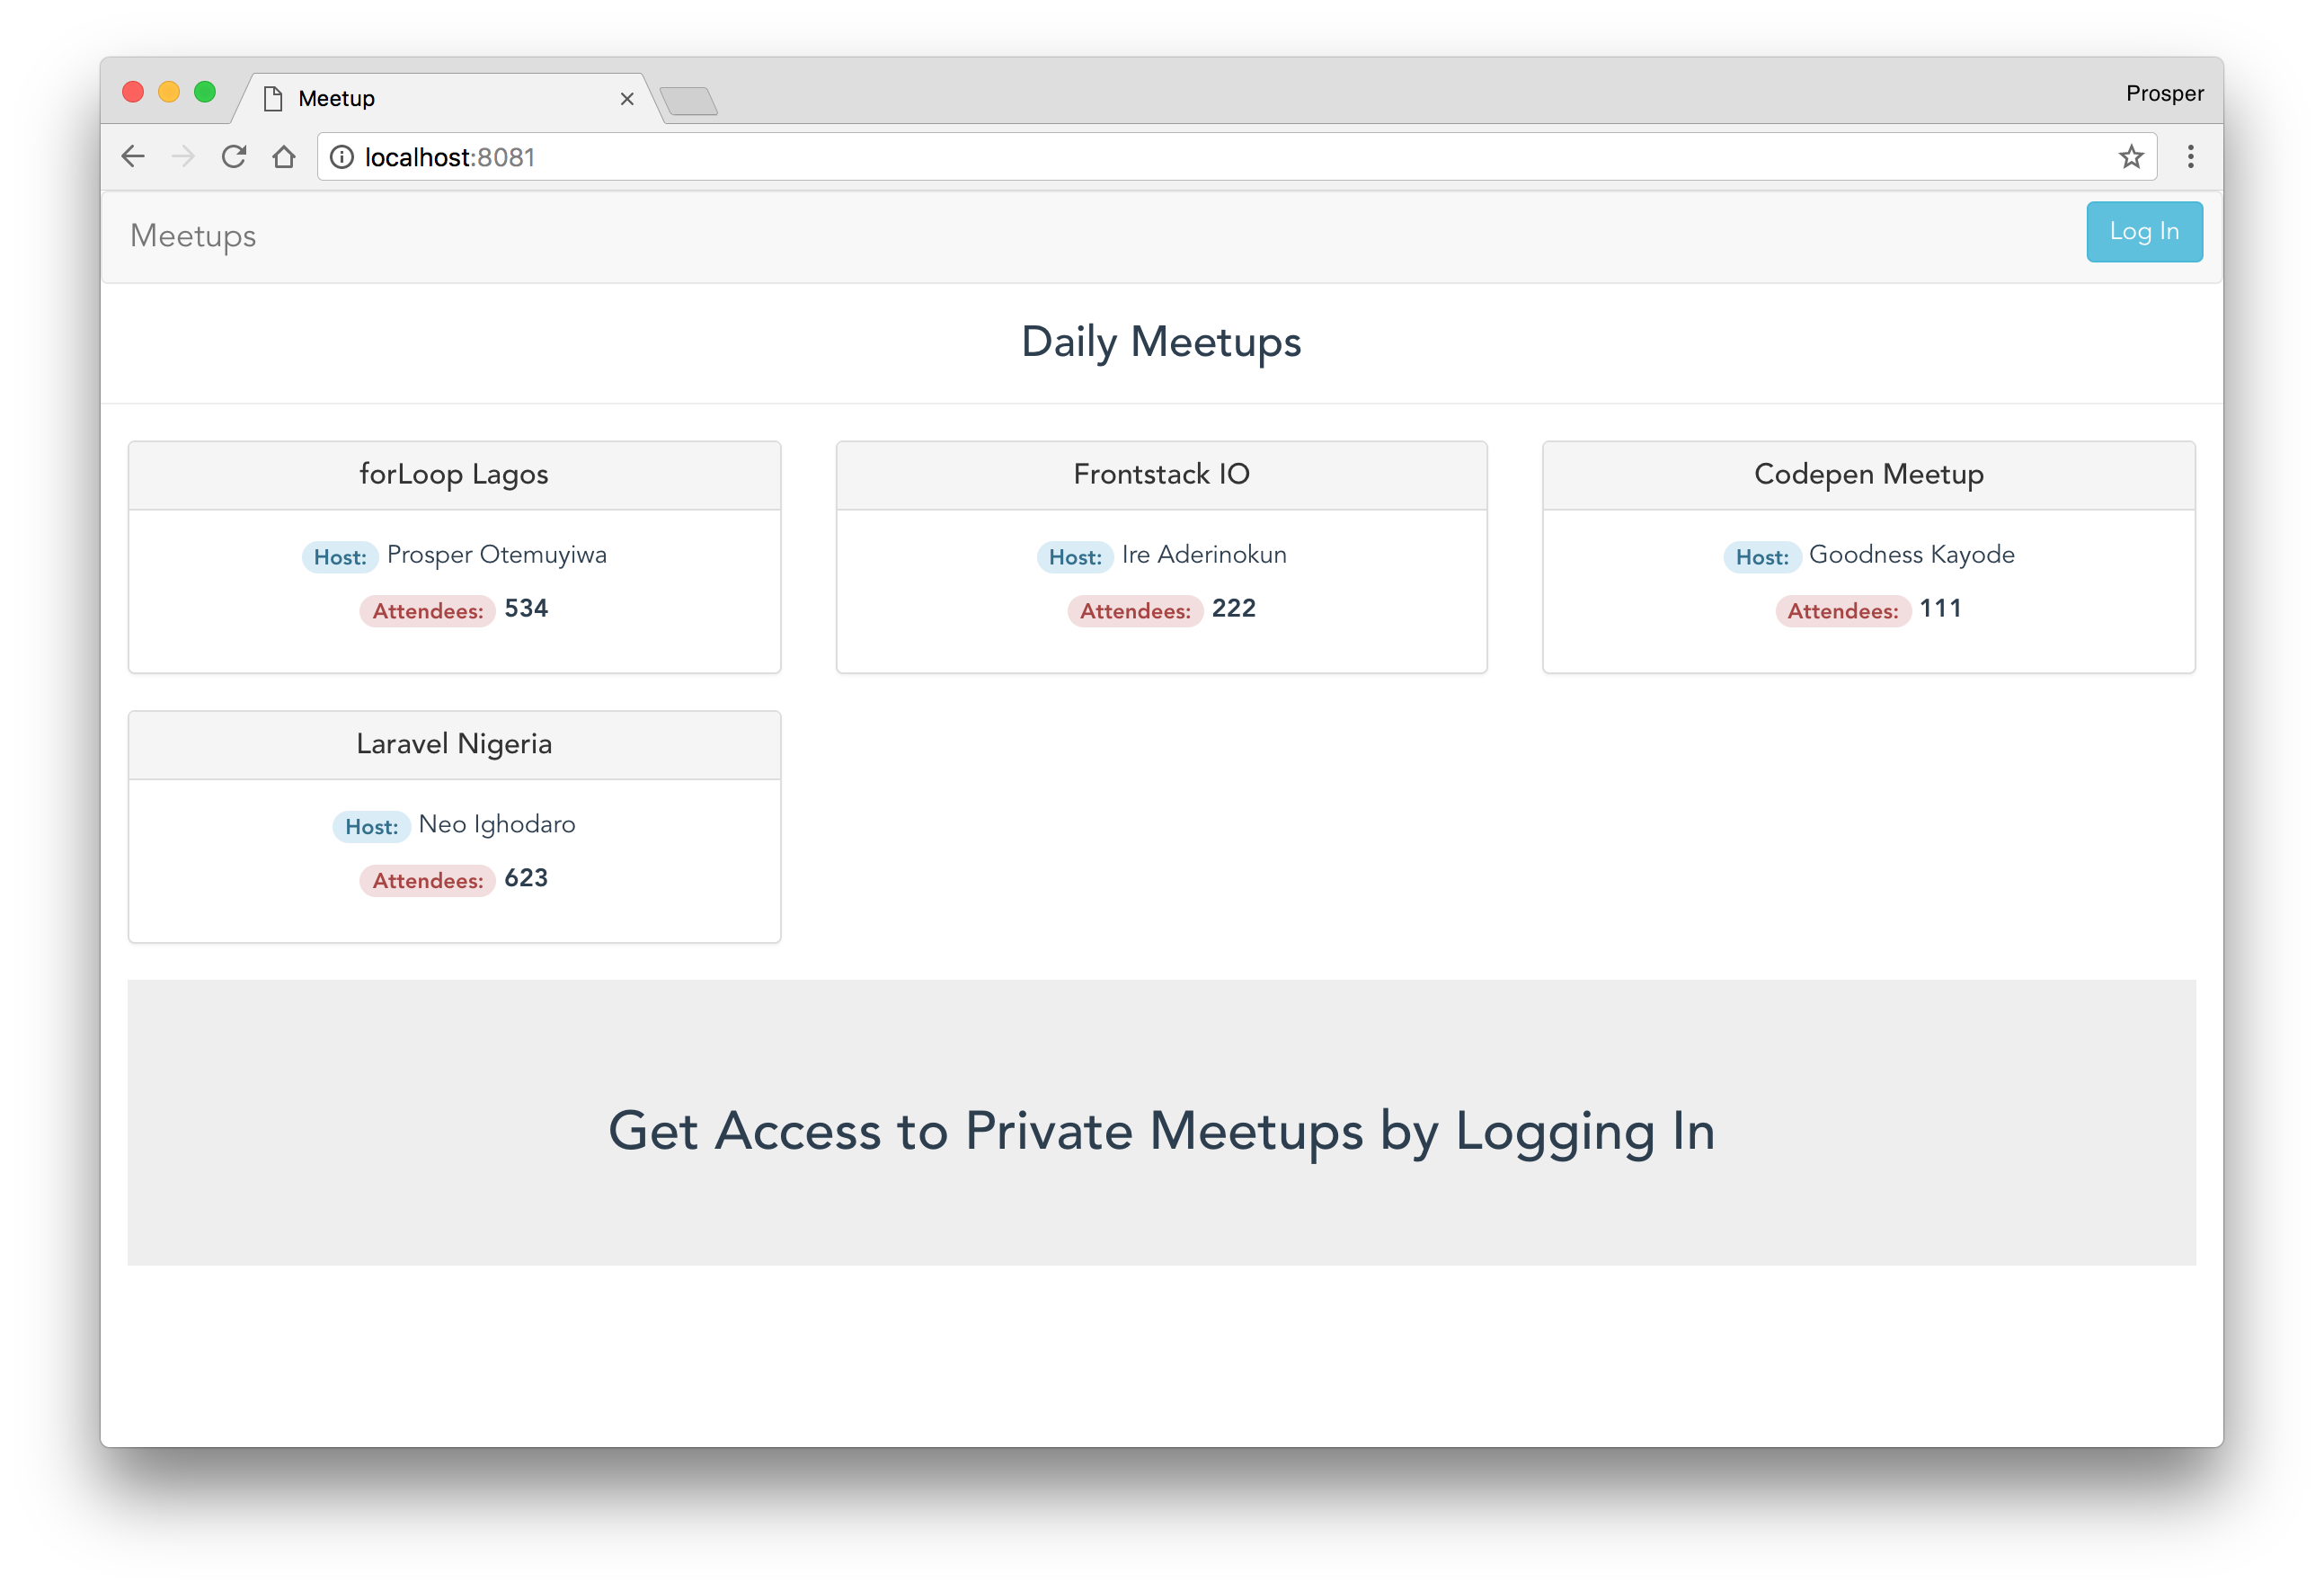
Note: At this point, the private meetups page are not working because we haven't configured the right variables.
At this point, we are running the Single Page Application on our local machine. Let's make the app publicly accessible by deploying to the cloud.
Netlify
Netlify is a powerful platform that allows you to easily push frontend code and have it deployed to the cloud within few minutes. And you can get started for free. It generates a secure publicly accessible URL after deployment.
It provides features such as:
- Instant Rollbacks
- Instant Cache Invalidation
- Atomic deploys
- Prerendering for Single Page Applications
and much more.
Every time a change is made and pushed to the GitHub repo, a fresh deploy happens automatically!
Let's go ahead and deploy our app.
- Create an account on Netlify if you don't have one.
Create a new site from Git
Create site from Git
Connect to GitHub
Choose GitHub
Select Repo
Choose the branch, set the build command and the publish directory. In our case, the build command is
, the publish directory isnpm run build
.distEnter build commands
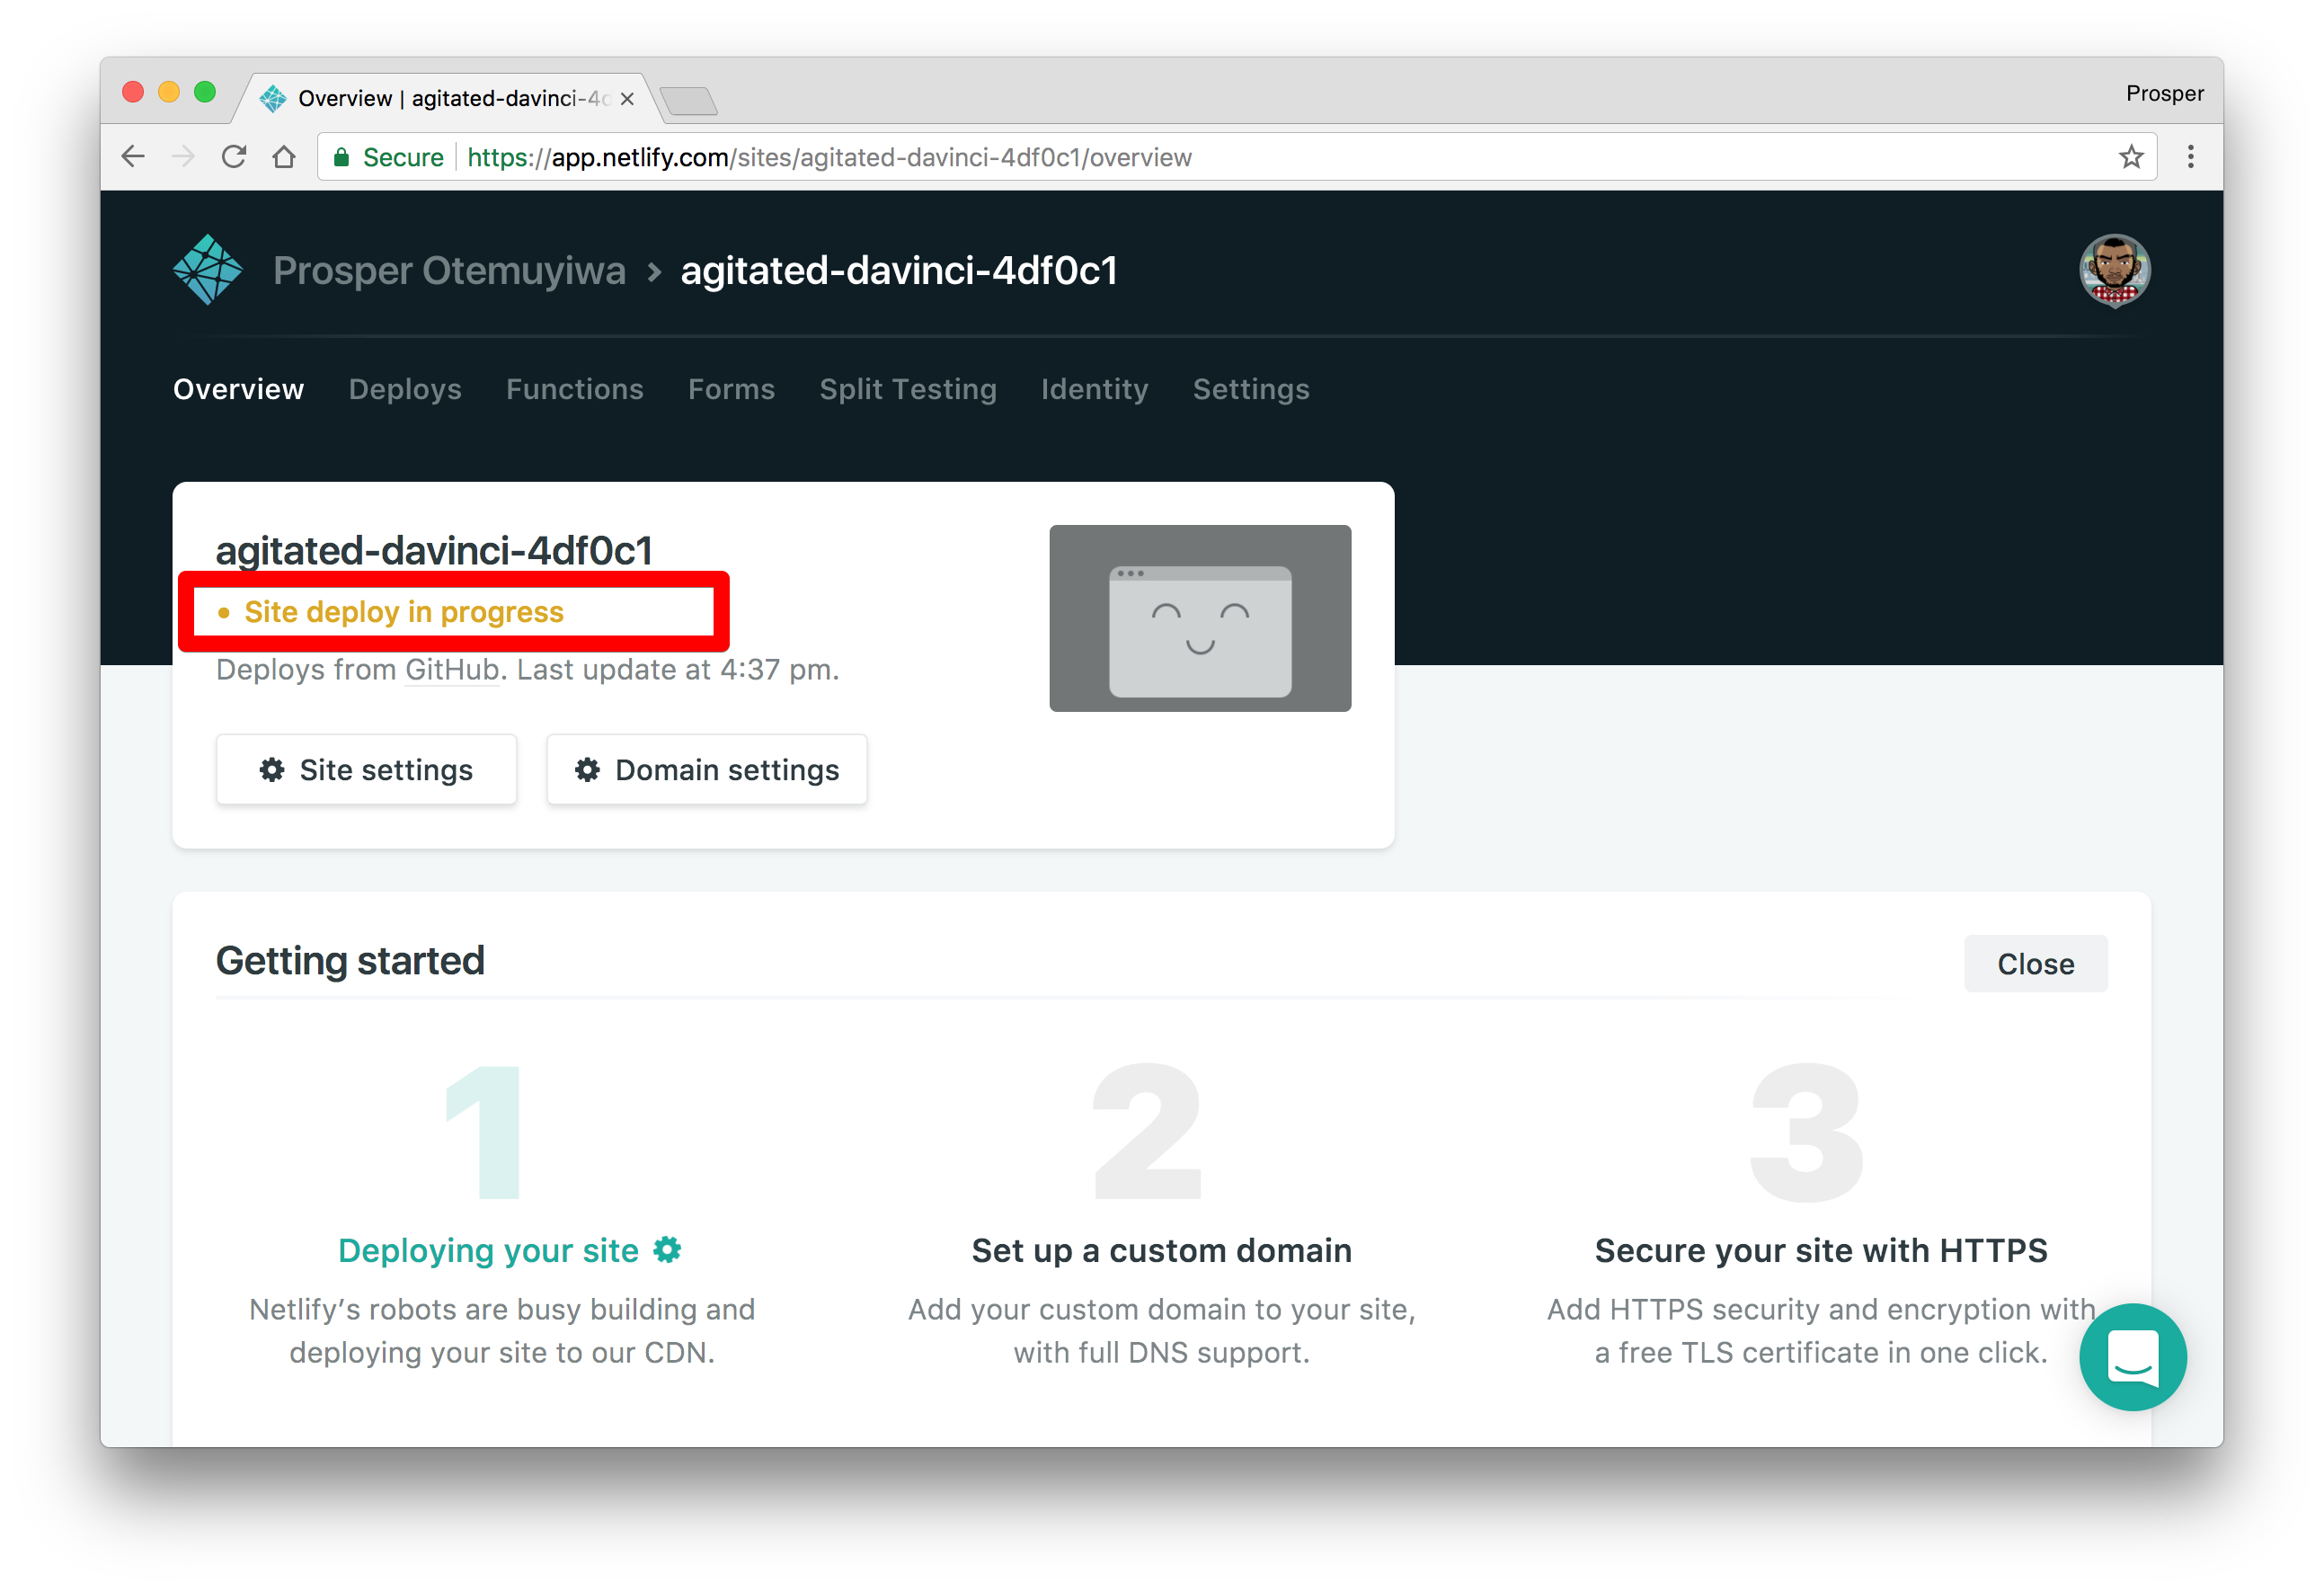
Deploy site.
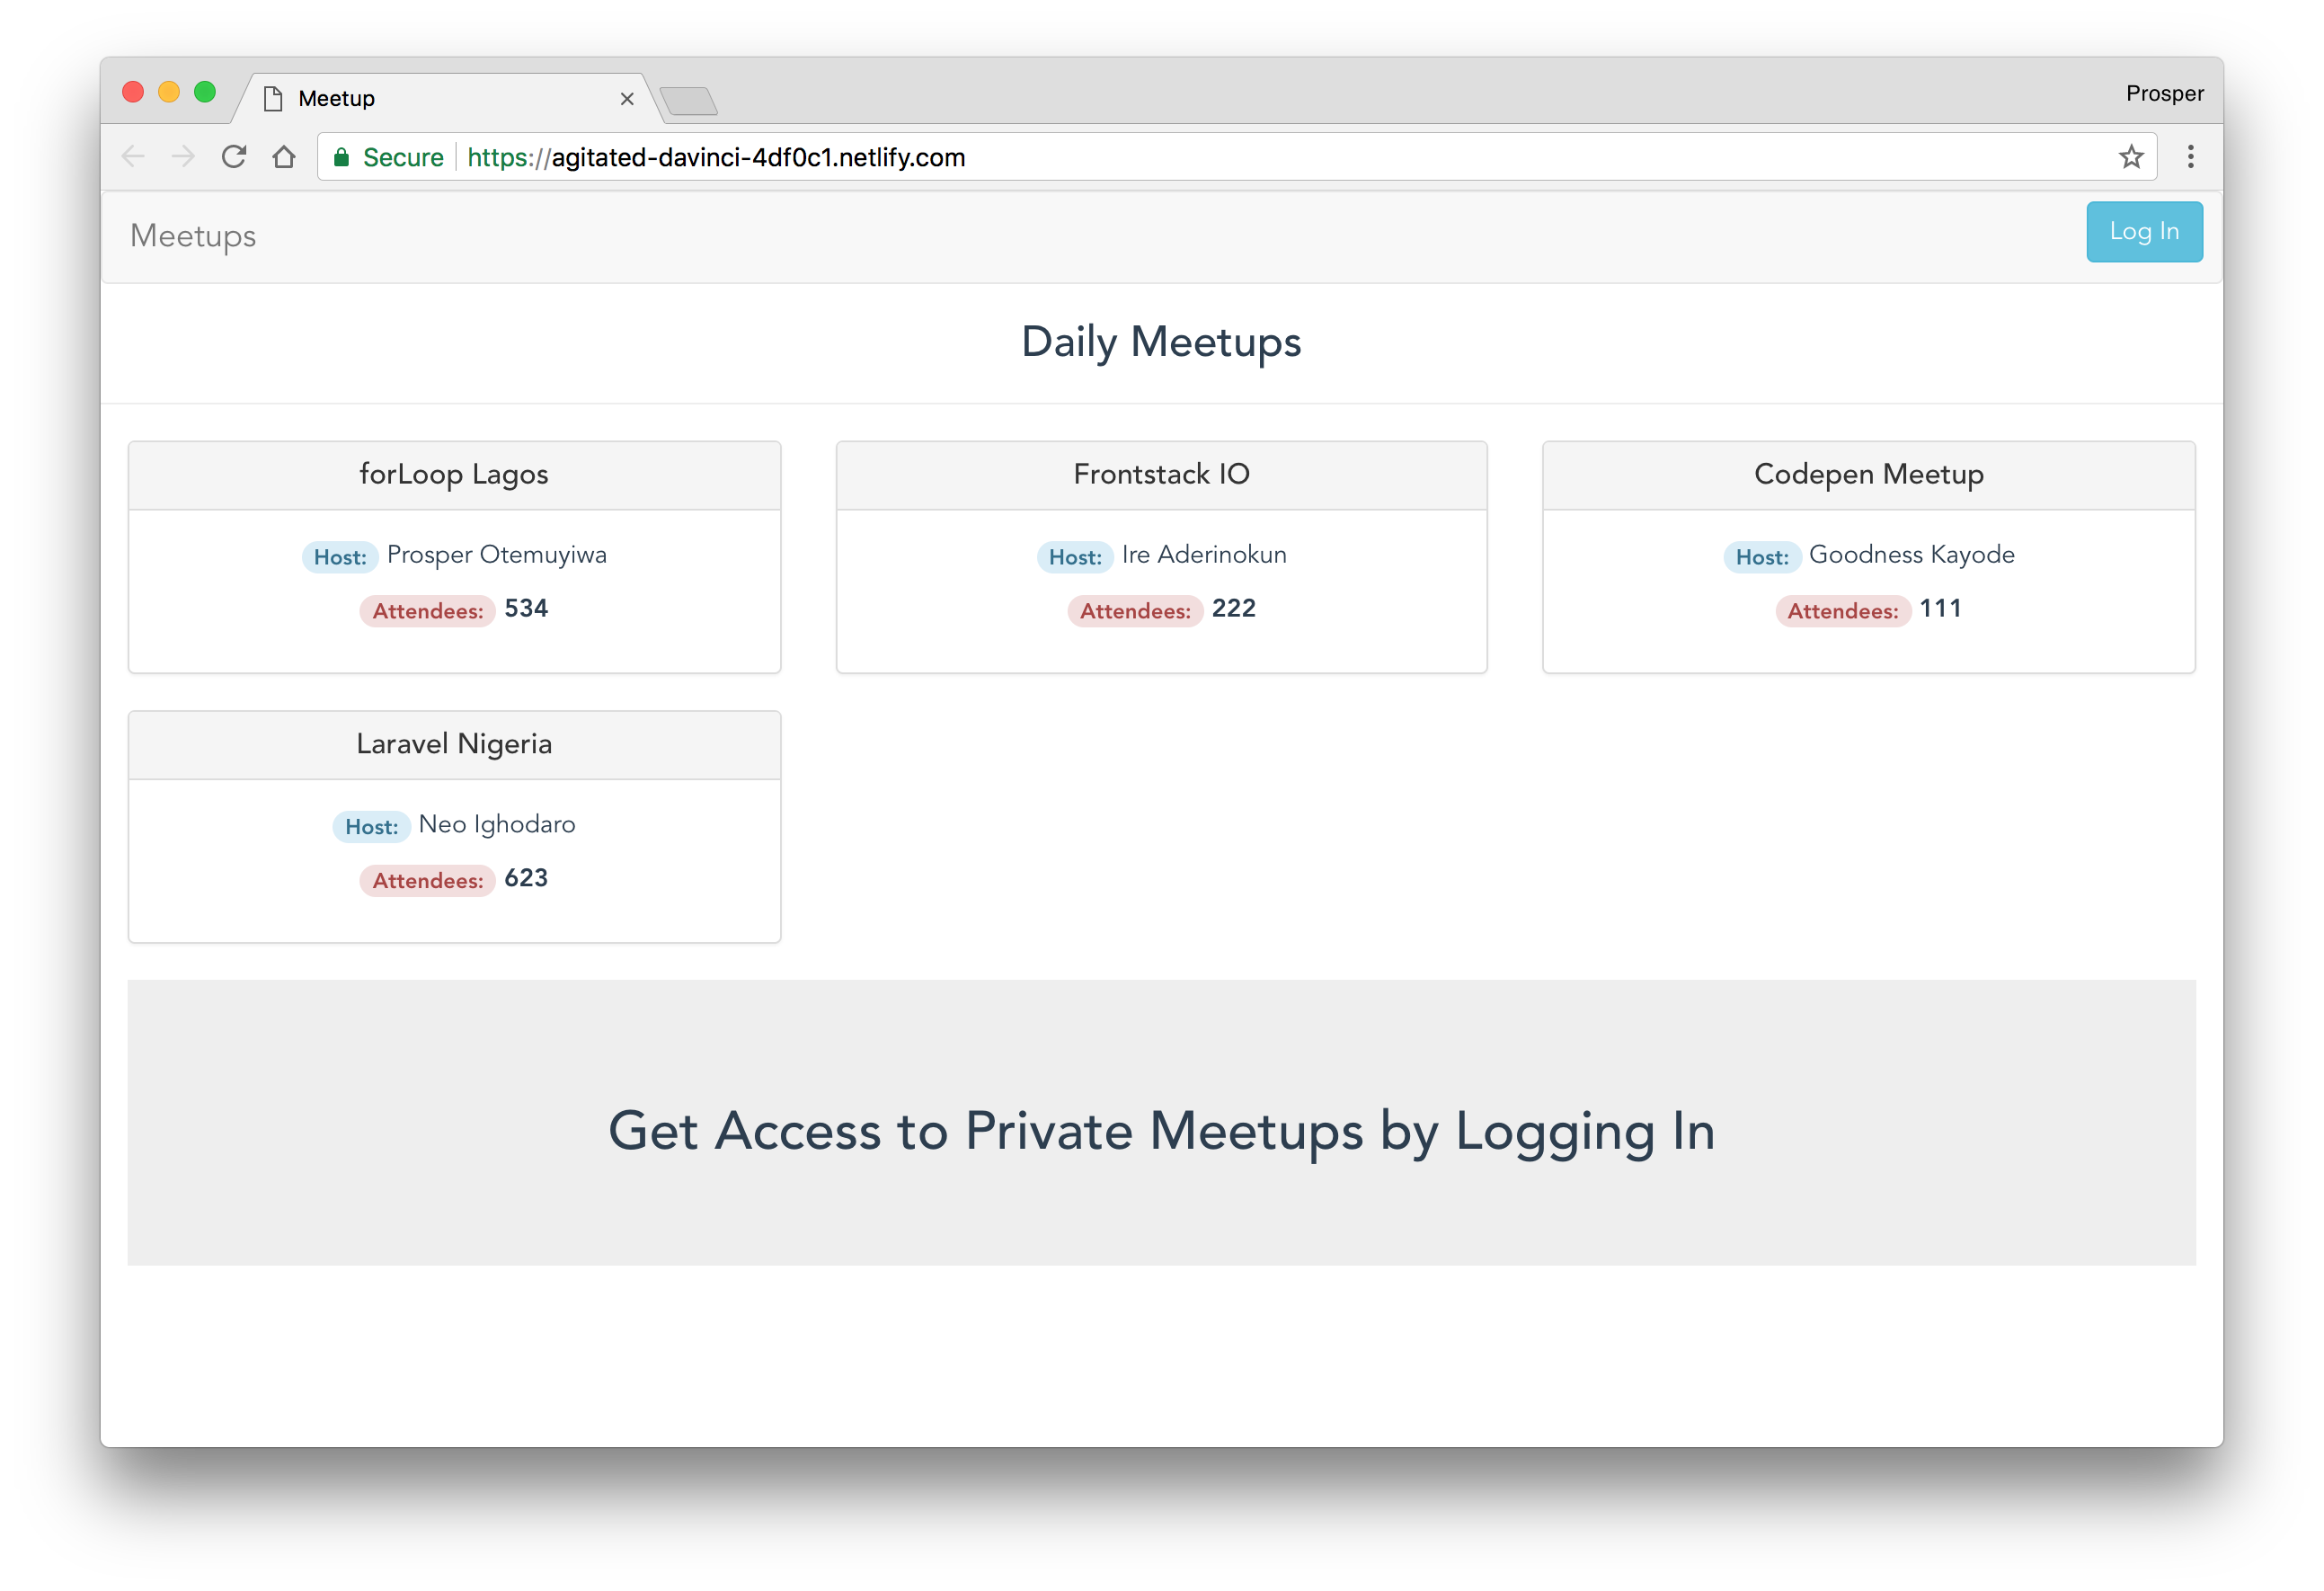
Check out your deployed site. Live Site
Let's ensure everything works well. We are using Auth0 for authentication.
Auth0 offers a generous free tier to get started with modern authentication.
Ensure Auth0 is configured properly.
- You need to have an account with Auth0.
- Go to your Auth0 Dashboard and click the "+ Create Application" button.
- Name your new app and select "Single Page Web Applications". Click on "Create".
- In the "Settings" for your new Auth0 application, add your URL, in my case
, to the Allowed Callback URLs.https://agitated-davinci-4df0c1.netlify.com/callback - Copy the "Client ID" within the "Settings" tab and go to the code and replace the clientID in the file
.src/auth/Auth.js - Replace redirectUri in the file
with the callback URL that was put in the "Allowed Callback URLs" spot.src/auth/Auth.js - Ensure the Allowed Web Origins, Allowed Origins(CORS) in your Auth0 dashboard is set to your live URL. In my case,
.https://agitated-davinci-4df0c1.netlify.com - Your
should be the audience you set when you created the API for the backend.audience
Very Important Note: Since our app is a single page client-side app, without a proper server configuration, the users will get a 404 error if they access
https://agitated-davinci-4df0c1.netlify.com/callbackCreate a
file in the root of the app. Add the code below to the_redirects
file:_redirects/* /index.html 200Modify the
command in your package.json'sbuild
section to the following:script
"scripts": {
    ...
    "build": "node build/build.js && mv _redirects dist"
  },
- Now, commit the new changes to GitHub. Once you commit, a deploy process will commence on Netlify. And the
file will be moved to the_redirects
folder on Netlify server. Netlify serves the content of thedist
folder as the app, so our SPA routing will work fine!dist
Test the app again in the browser. https://agitated-davinci-4df0c1.netlify.com
Netlify is really powerful. It provides a lot of features out of the box such as:
- Hooks for triggering a build
- Asset optimization
- Webhooks for deploy notifications
- Domain Management
Surge
Surge is a static web publishing platform designed especially for frontend developers. It's simple to use. You can publish your application without leaving the command line. Surge's free version offers the following:
- Unlimited publishing
- Custom domain
- Basic SSL
Simply install Surge via your terminal like so:
npm install --global surge
Now, follow these steps to deploy your app:
- Modify the
command in your package.json'sbuild
section to the following:script
"scripts": {
    ...
    "build": "node build/build.js && cp dist/index.html dist/200.html"
  },
Surge's way of handling SPA client-side routing is providing a duplicate of your
index.html200.html200Run the
command in the terminal. Fill in your email and password. Also, specify thesurge
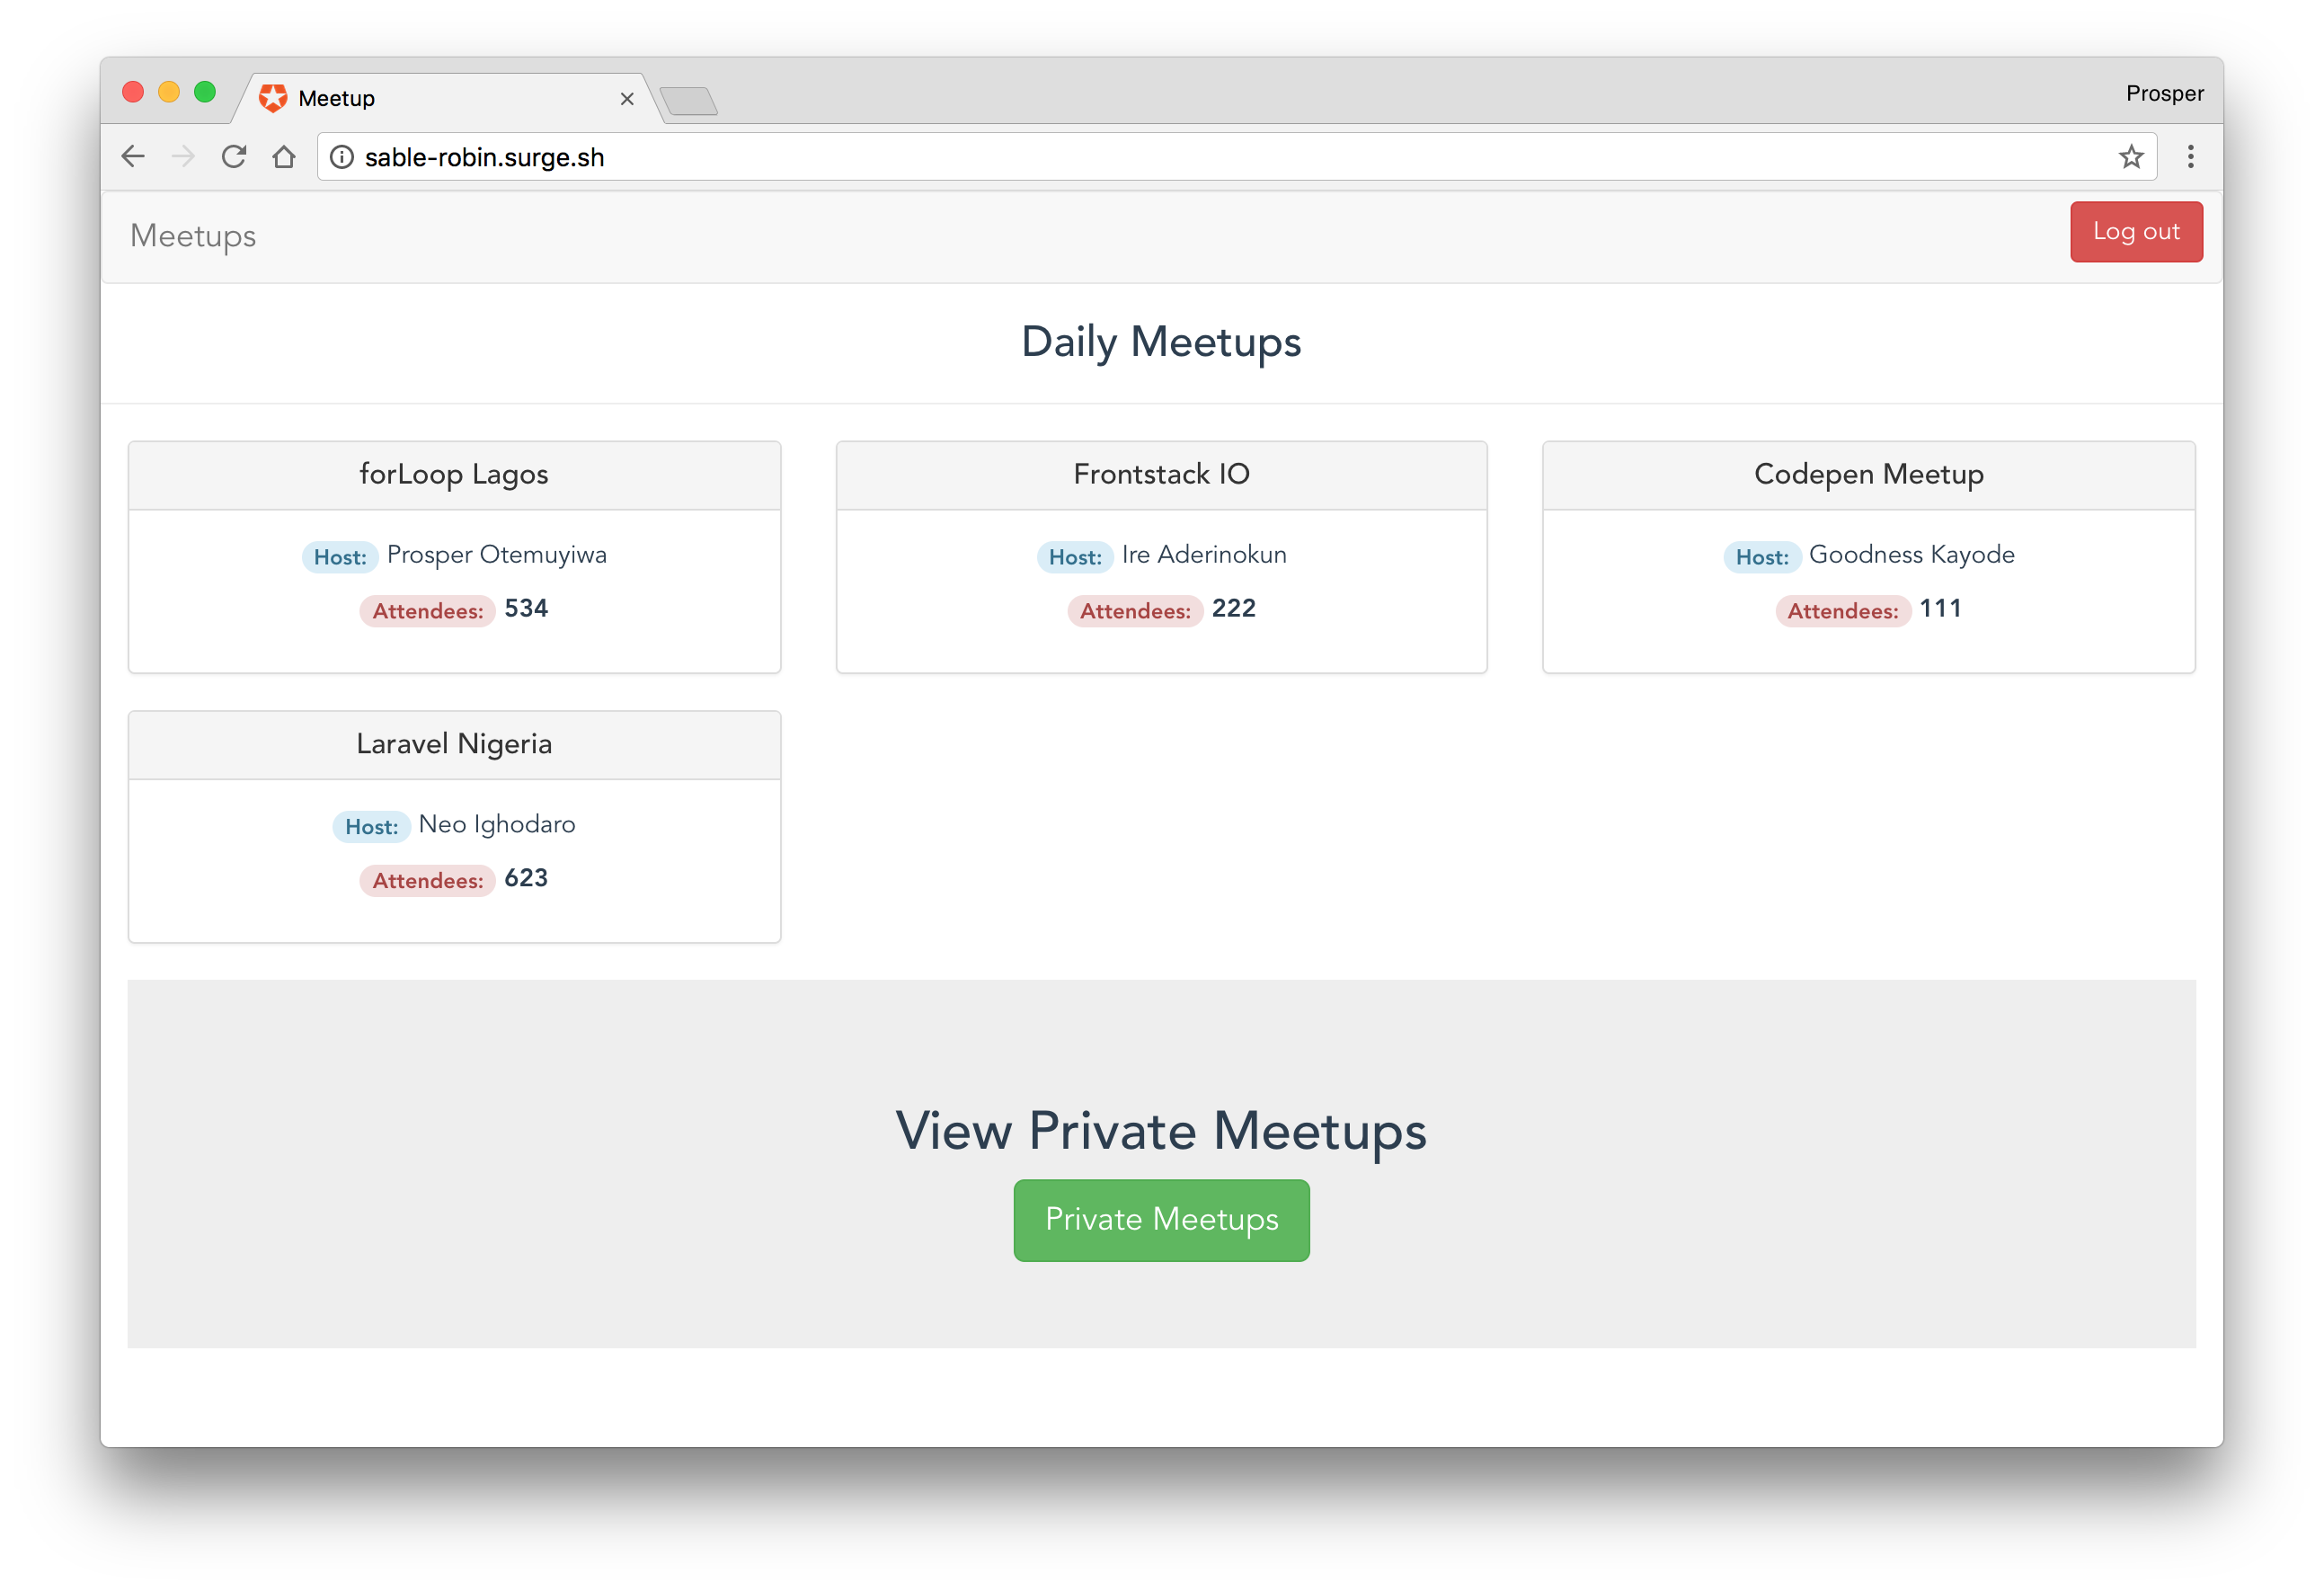
directory and press enter:distCheck out the URL it generates and visit your app. In my case, it is http://sable-robin.surge.sh.
Very Important Note: At this point, you will need to add this URL to the Allowed Web Origins, Allowed Origins(CORS), and
http://<your-url.sh>/callbacksrc/auth/Auth.jshttp://<your-url.sh>/callbackNow, re-run the
npm run buildsurgesurge dist/ <your-surge-url>
Your app will be updated. Everything should work fine now!
Google Firebase
Google Firebase is a great platform to host your static websites, progressive web apps and single page applications. Firebase hosting provides fast and secure hosting for your web app. With a single command, you can easily deploy web apps and static content to a global content-delivery network (CDN).
Firebase hosting offers the following:
- Apps Served over a secure connection
- Free SSL certificates
- Fast content delivery
- One-click rollbacks
- Free
Install the Firebase CLI on your machine like so:
npm i -g firebase-tools
Go ahead and run the login command:
firebase login
Authenticate with your Google account and give Firebase CLI the permissions it requests by clicking the Allow button.
Initialize a Firebase project in the app directory:
firebase init
- Choose
as the Firebase CLI feature provided in the interactive widget.Hosting - Select
.Create a new project - Head over to https://console.firebase.google.com to create a new project. Run
again in the terminal. Go through the steps and choose the newly created project.firebase init - Modify the
file that is currently in your root directory to:firebase.json
{
  "hosting": {
    "public": "dist",
    "rewrites": [ {
      "source": "**",
      "destination": "/index.html"
    } ],
    "ignore": [
      "firebase.json",
      "**/.*",
      "**/node_modules/**"
    ]
  }
}
publicdistdistrewrites- Run
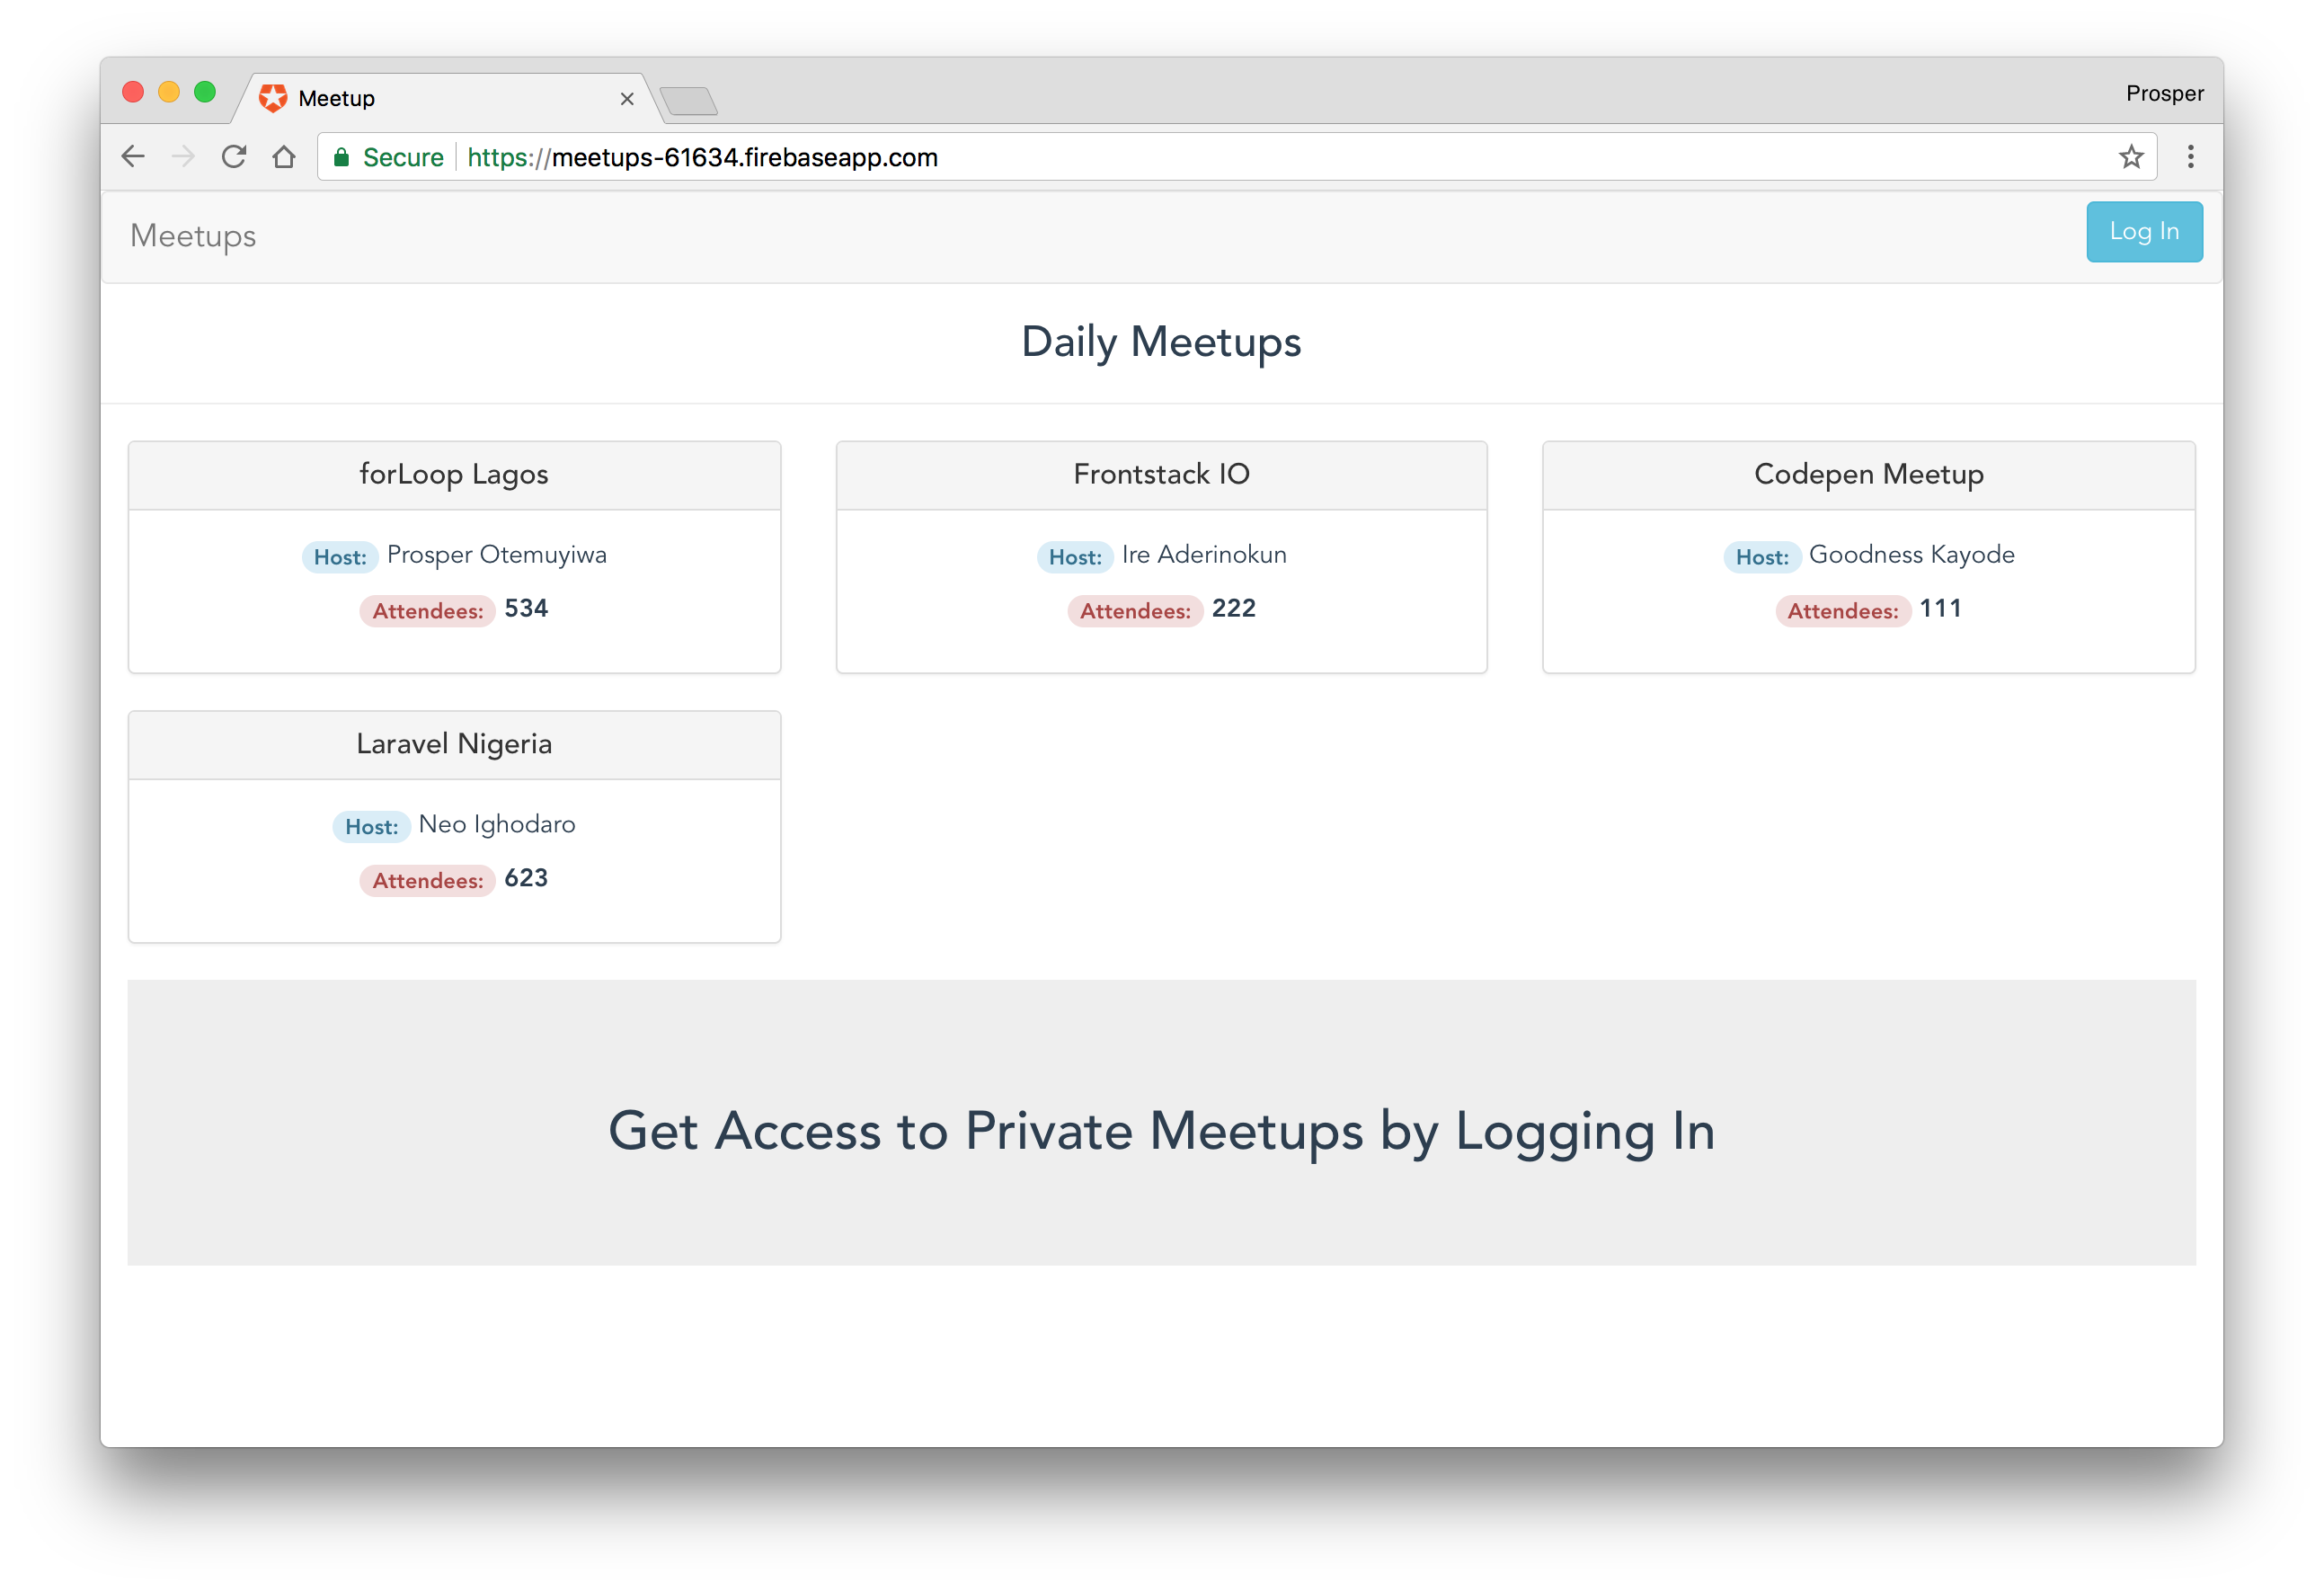
.firebase deploy - The project should be live now. Mine is https://meetups-61634.firebaseapp.com/.
Very Important Note: At this point, you will need to add this URL to the Allowed Web Origins, Allowed Origins(CORS), and
http://<your-url.firebaseapp.com>/callbacksrc/auth/Auth.jshttp://<your-url.firebaseapp.com>/callback- Now, run
to rebuild the project.npm run build - Run
again to re-upload the new content.firebase deploy
Your app will be updated. Everything should work fine now!
Aerobatic
Aerobatic is a platform for deploying static websites and single page applications. It's not so popular but it is very powerful and provides a blazingly fast performance.
It offers the following:
- Continuous Delivery
- Plugins for redirects, password protection, http proxy, custom errors, etc
- Apps served over a secure connection
- Free 30-day trial
- Support for Jekyll, Hugo, Hexo, Yeoman, React, Angular, etc
Unfortunately, as at the time of this writing, Aerobatic doesn't support HTML5 pushState. There are claims that it does support client-side routing but I haven't found a complete example to back up this claim.
Amazon S3
Amazon Web Services as we already know is an incredible cloud platform for hosting your web applications. Amazon S3 is a web service offered by Amazon Web Services (AWS) that provides storage through web services interfaces. You can also host a static website and Single Page Application on S3.
Let's follow the steps below to deploy our Single Page Application:
- Login to Amazon AWS
- Head over to S3
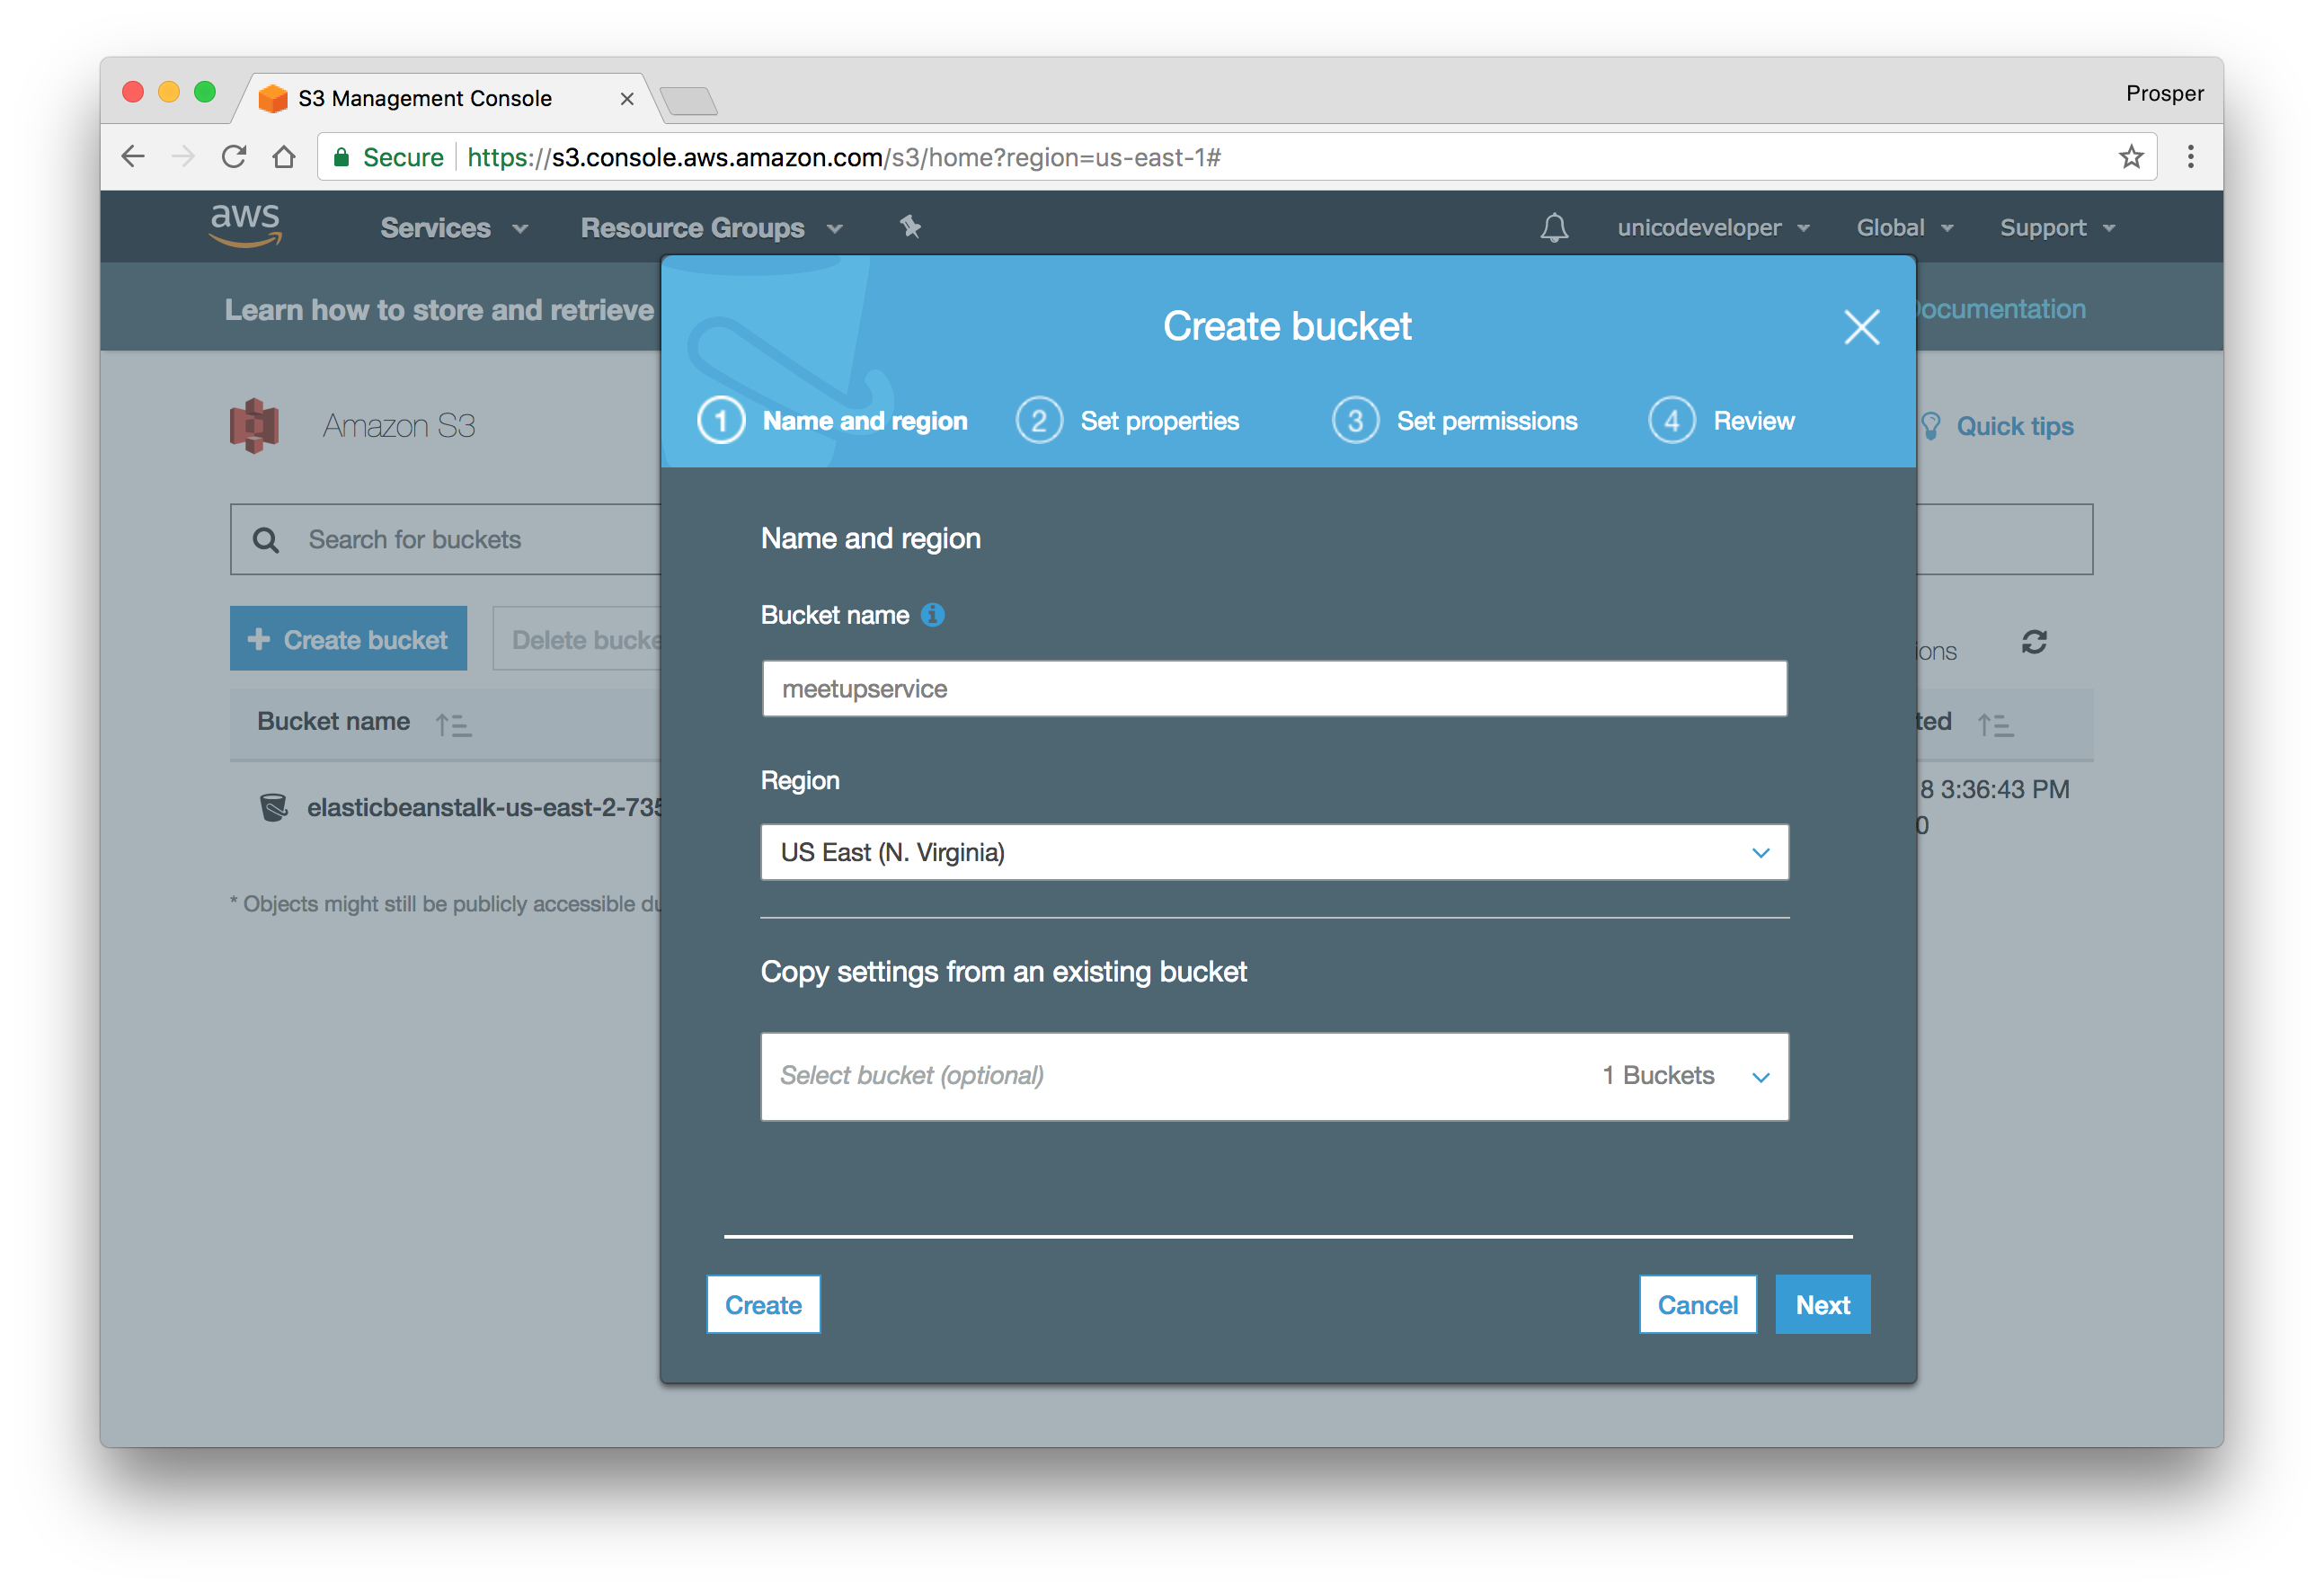
Create a bucket.
Go to Properties of the newly created bucket and enable Static Web Hosting. Add
to the Index and Error document. Note: Write down your URL endpoint.index.htmlEnable Static Web hosting
Write down the S3 endpoint URL
Go to Permissions > Bucket Policy of the newly created bucket and add the policy below:
{
    "Version": "2012-10-17",
    "Statement": [
        {
            "Sid": "AddPerm",
            "Effect": "Allow",
            "Principal": "*",
            "Action": "s3:GetObject",
            "Resource": "arn:aws:s3:::<bucket-name>/*"
        }
    ]
}
Replace
<bucket-name>- Principal: This is the who. Using a
, we're saying everyone. Literally, everyone.* - Action: This is what the principal can do. We're saying everyone can perform a "get."
- Resource: This is the which. Against which resources (objects) can the principal perform this action?
Remember the endpoint URL you wrote down? You'll need it now to configure authentication for our app. At this point, you will need to add this URL to the Allowed Web Origins, Allowed Origins(CORS), and
to your Allowed Callback URLs in your Auth0 dashboard. Furthermore, you'll need to update yourhttp://<your-url>/callback
file. Replace the value of redirectUri withsrc/auth/Auth.js
.http://<your-url>/callback- Now run
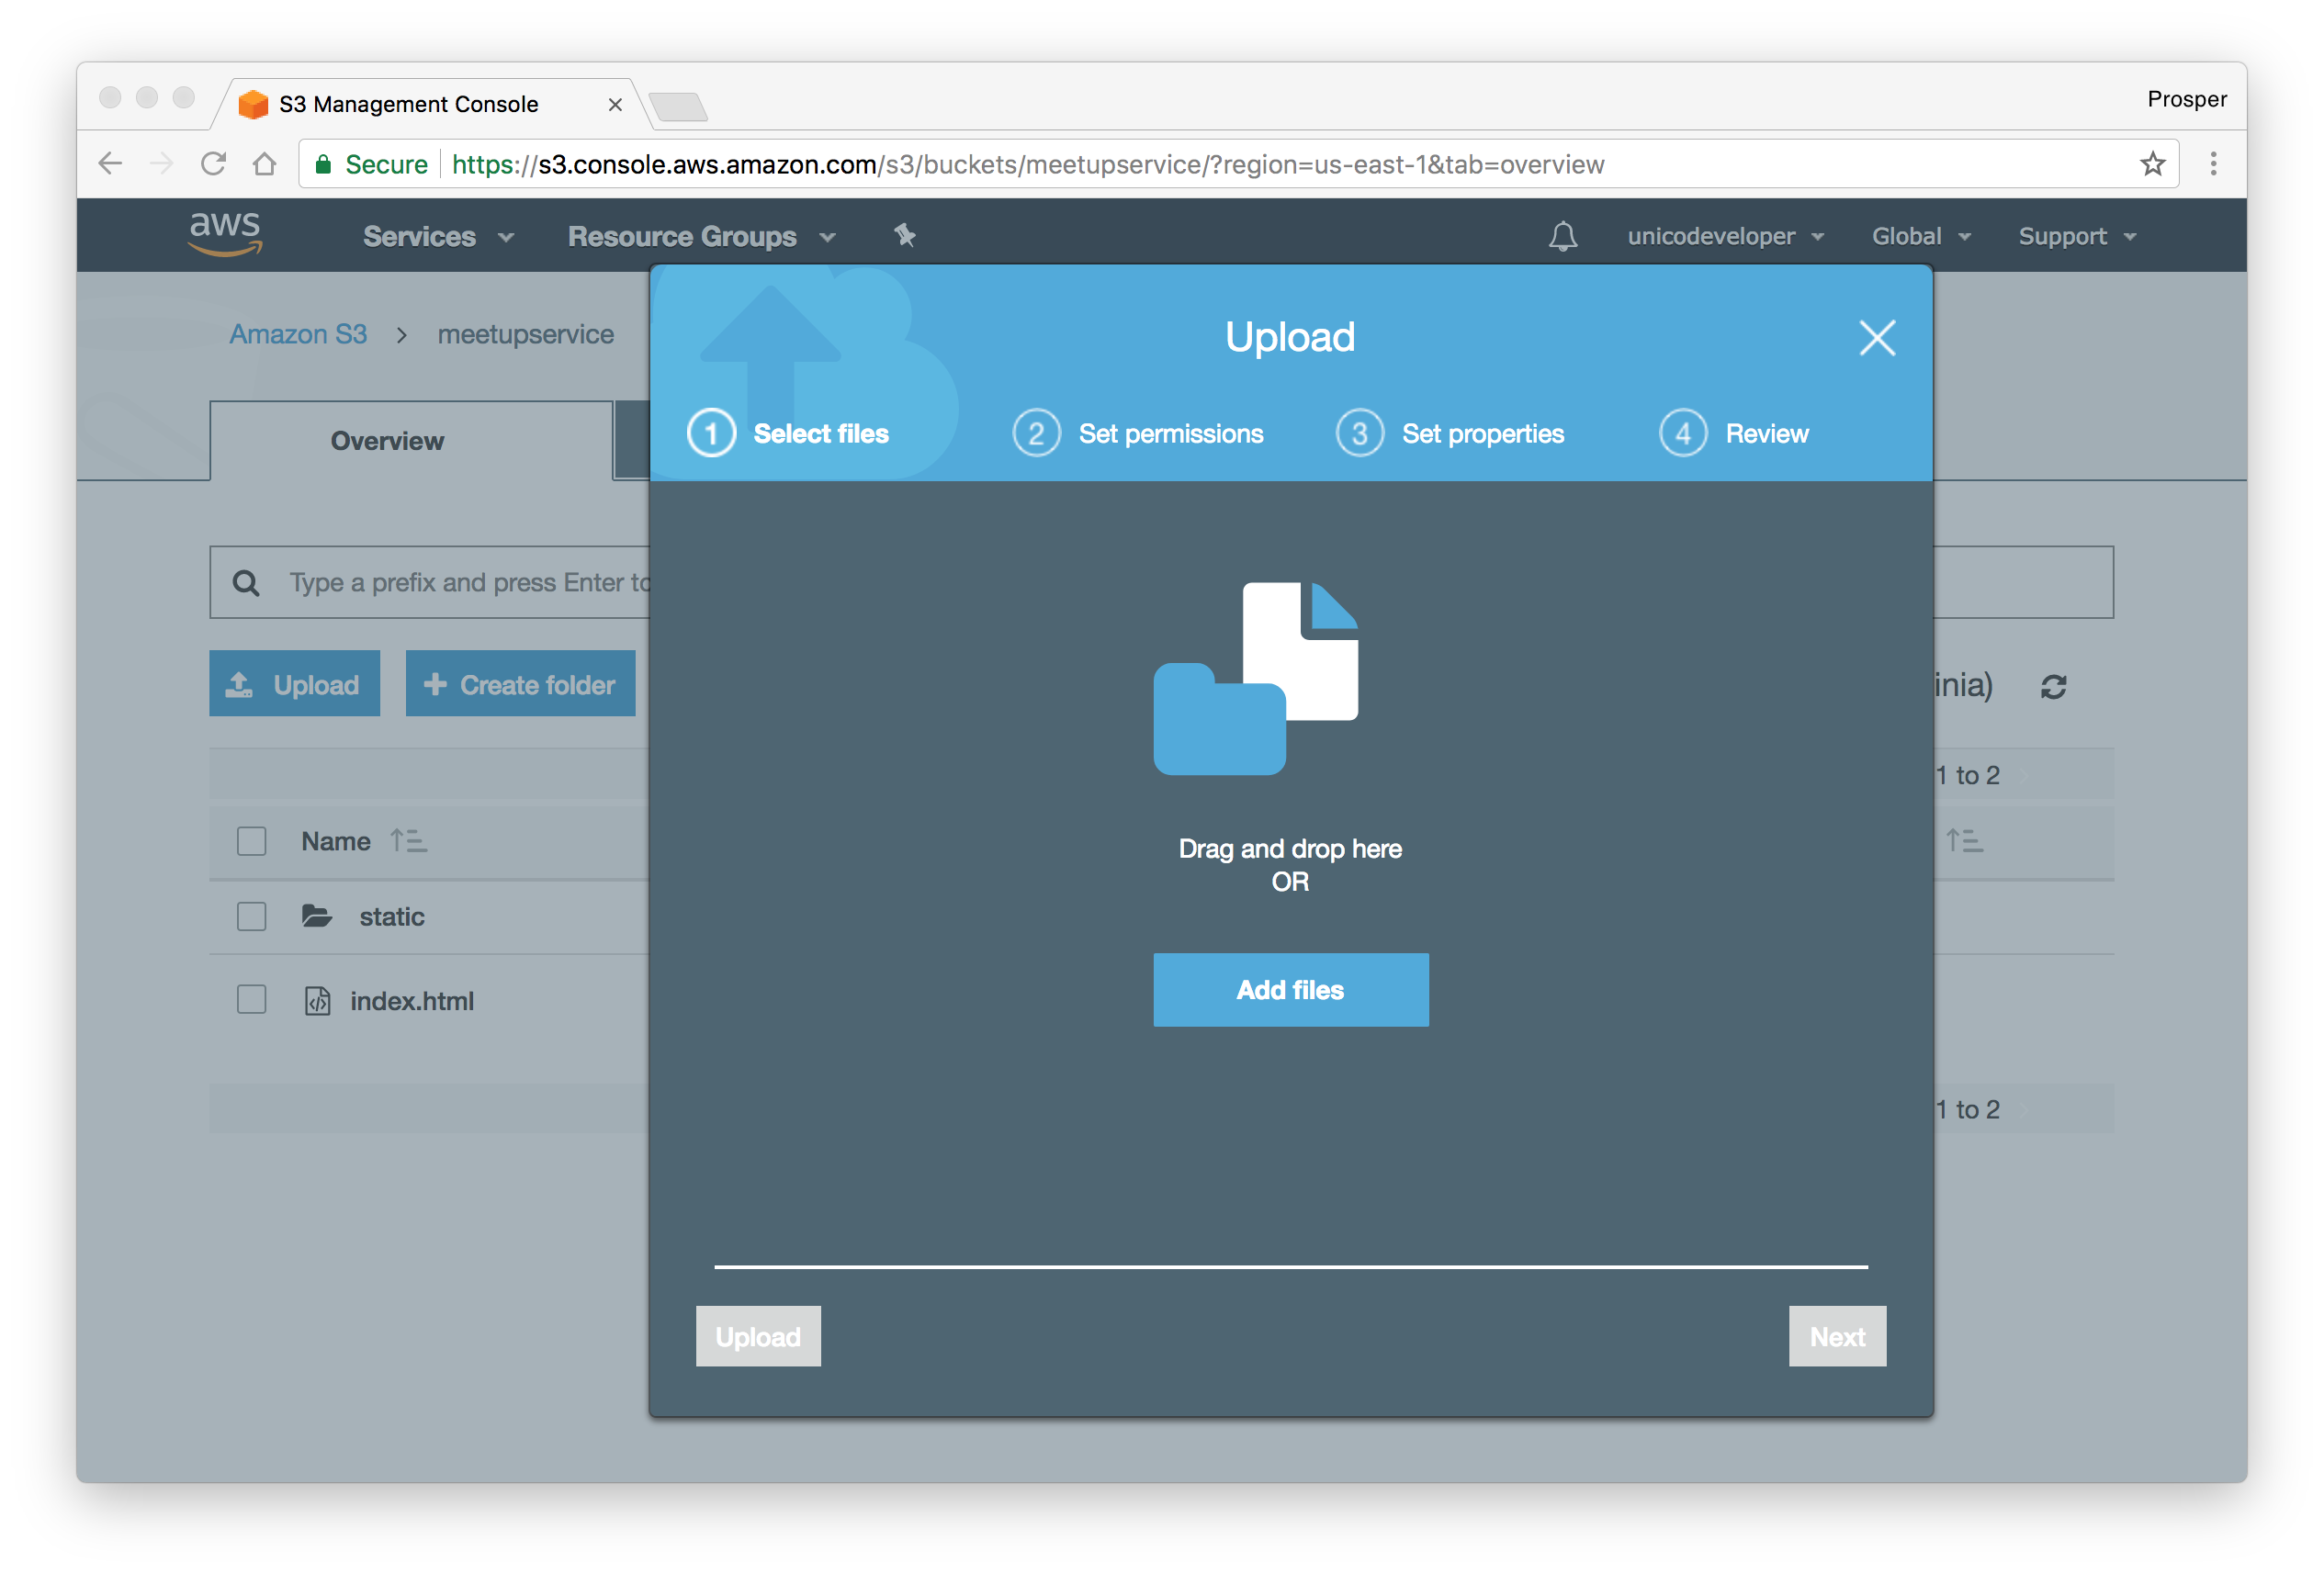
in your terminal to build the project.npm run build Go ahead and upload the files in the
directory to your S3 bucket.distWait about a minute. Now check out the app via your S3 endpoint URL. http://meetupservice.s3-website-us-east-1.amazonaws.com.
Live App working fine!
Let's take a break here! There are more platforms out there that we won't be able to cover such as Heroku, Microsoft Azure, Google Cloud, etc
There are several factors you consider before deploying JavaScript applications. Where do files such as Images, PDF, and Videos get stored? How do I set up monitoring and logging? How about SSL provisioning for my custom server? What if I don't want to set up my backend? Yeah, Serverless backends come in handy!
Let's briefly cover some of these questions posed above.
Serverless Backend
You might have heard about Serverless several times. It's a buzz word that's everywhere now. Serverless computing simply allows us to write functions as a service. No need for setting up servers yourself. There are tools and services that handle all the server provisioning for you. Basically, you run code without thinking about servers. Serverless offers you:
- Auto Scaling.
- Rapid deployment.
- Pay only for the compute time you consume.
Services such as Webtask, AWS Lambda, IBM Cloud Functions, Google Cloud Functions, and Azure Functions allow you run a serverless backend.
- Webtask: Get started with Webtask.
- AWS Lambda: Get started with Lambda.
- IBM Cloud Functions: Get started with IBM Cloud Functions.
- Google Cloud Functions: Get started with Quickstarts.
- Azure Functions: Get started with Azure Functions documentation.
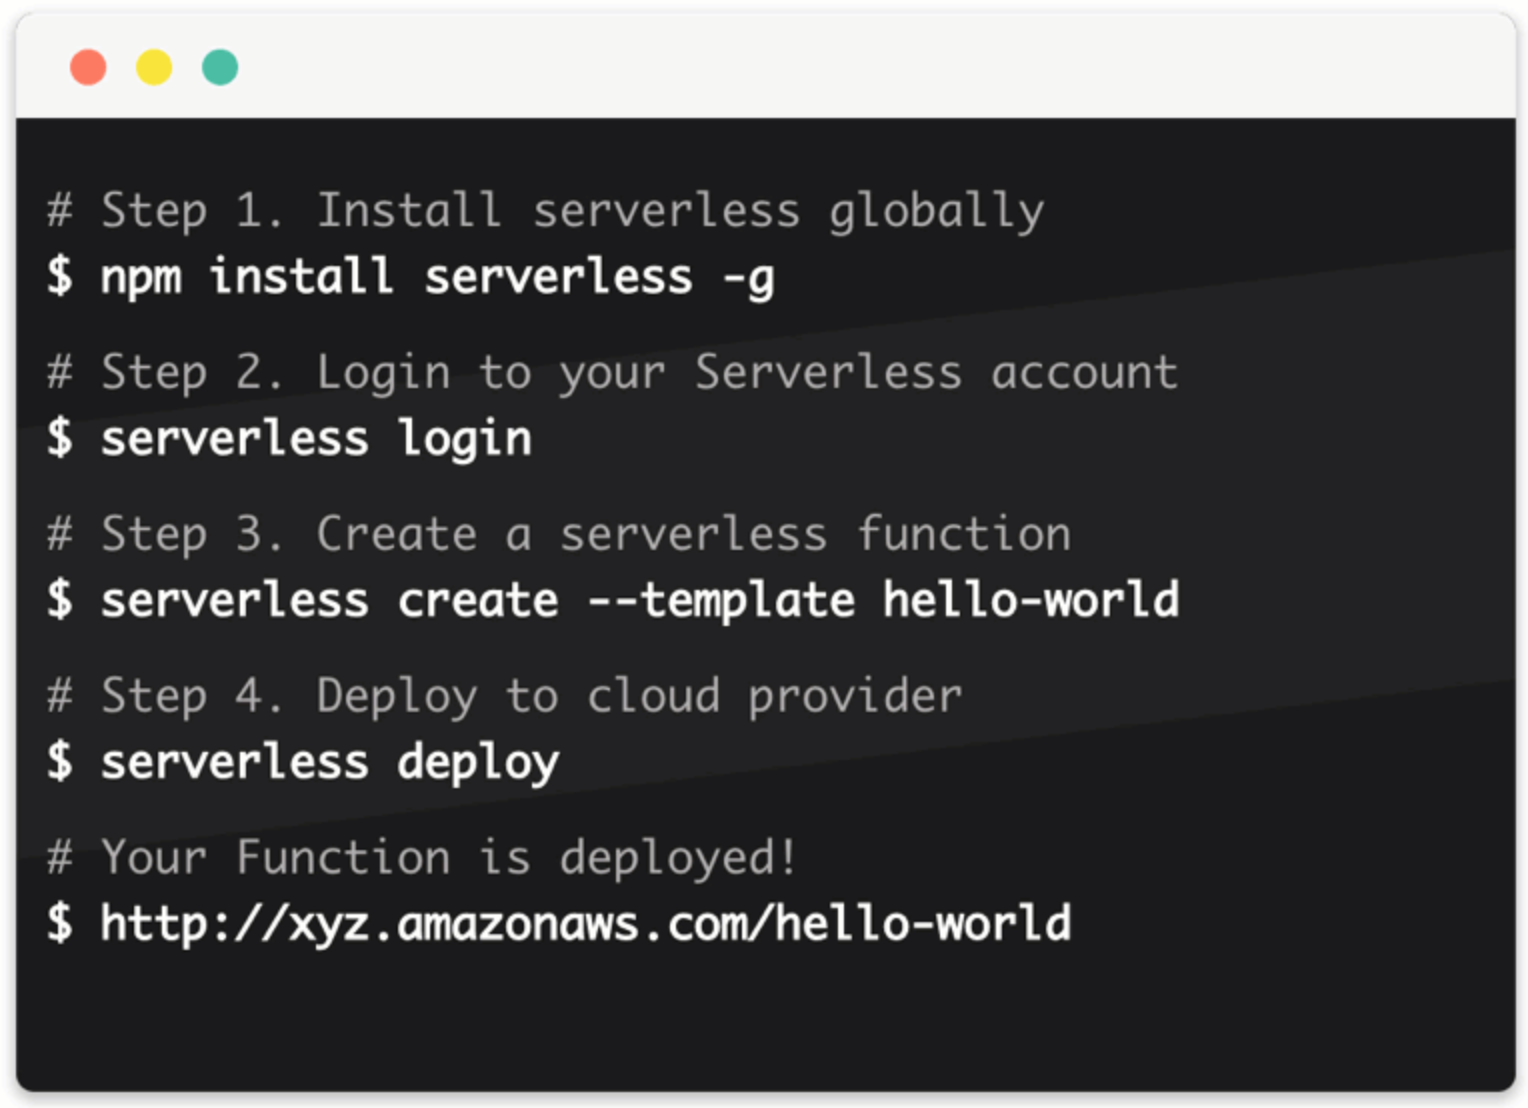
There is a Serverless Application Framework that helps you build serverless architectures easily. It's powered by Serverless computing services such as Lambda, Azure Functions and IBM.
With the open-source CLI, you can get started on your machine ASAP!
Files Deployment
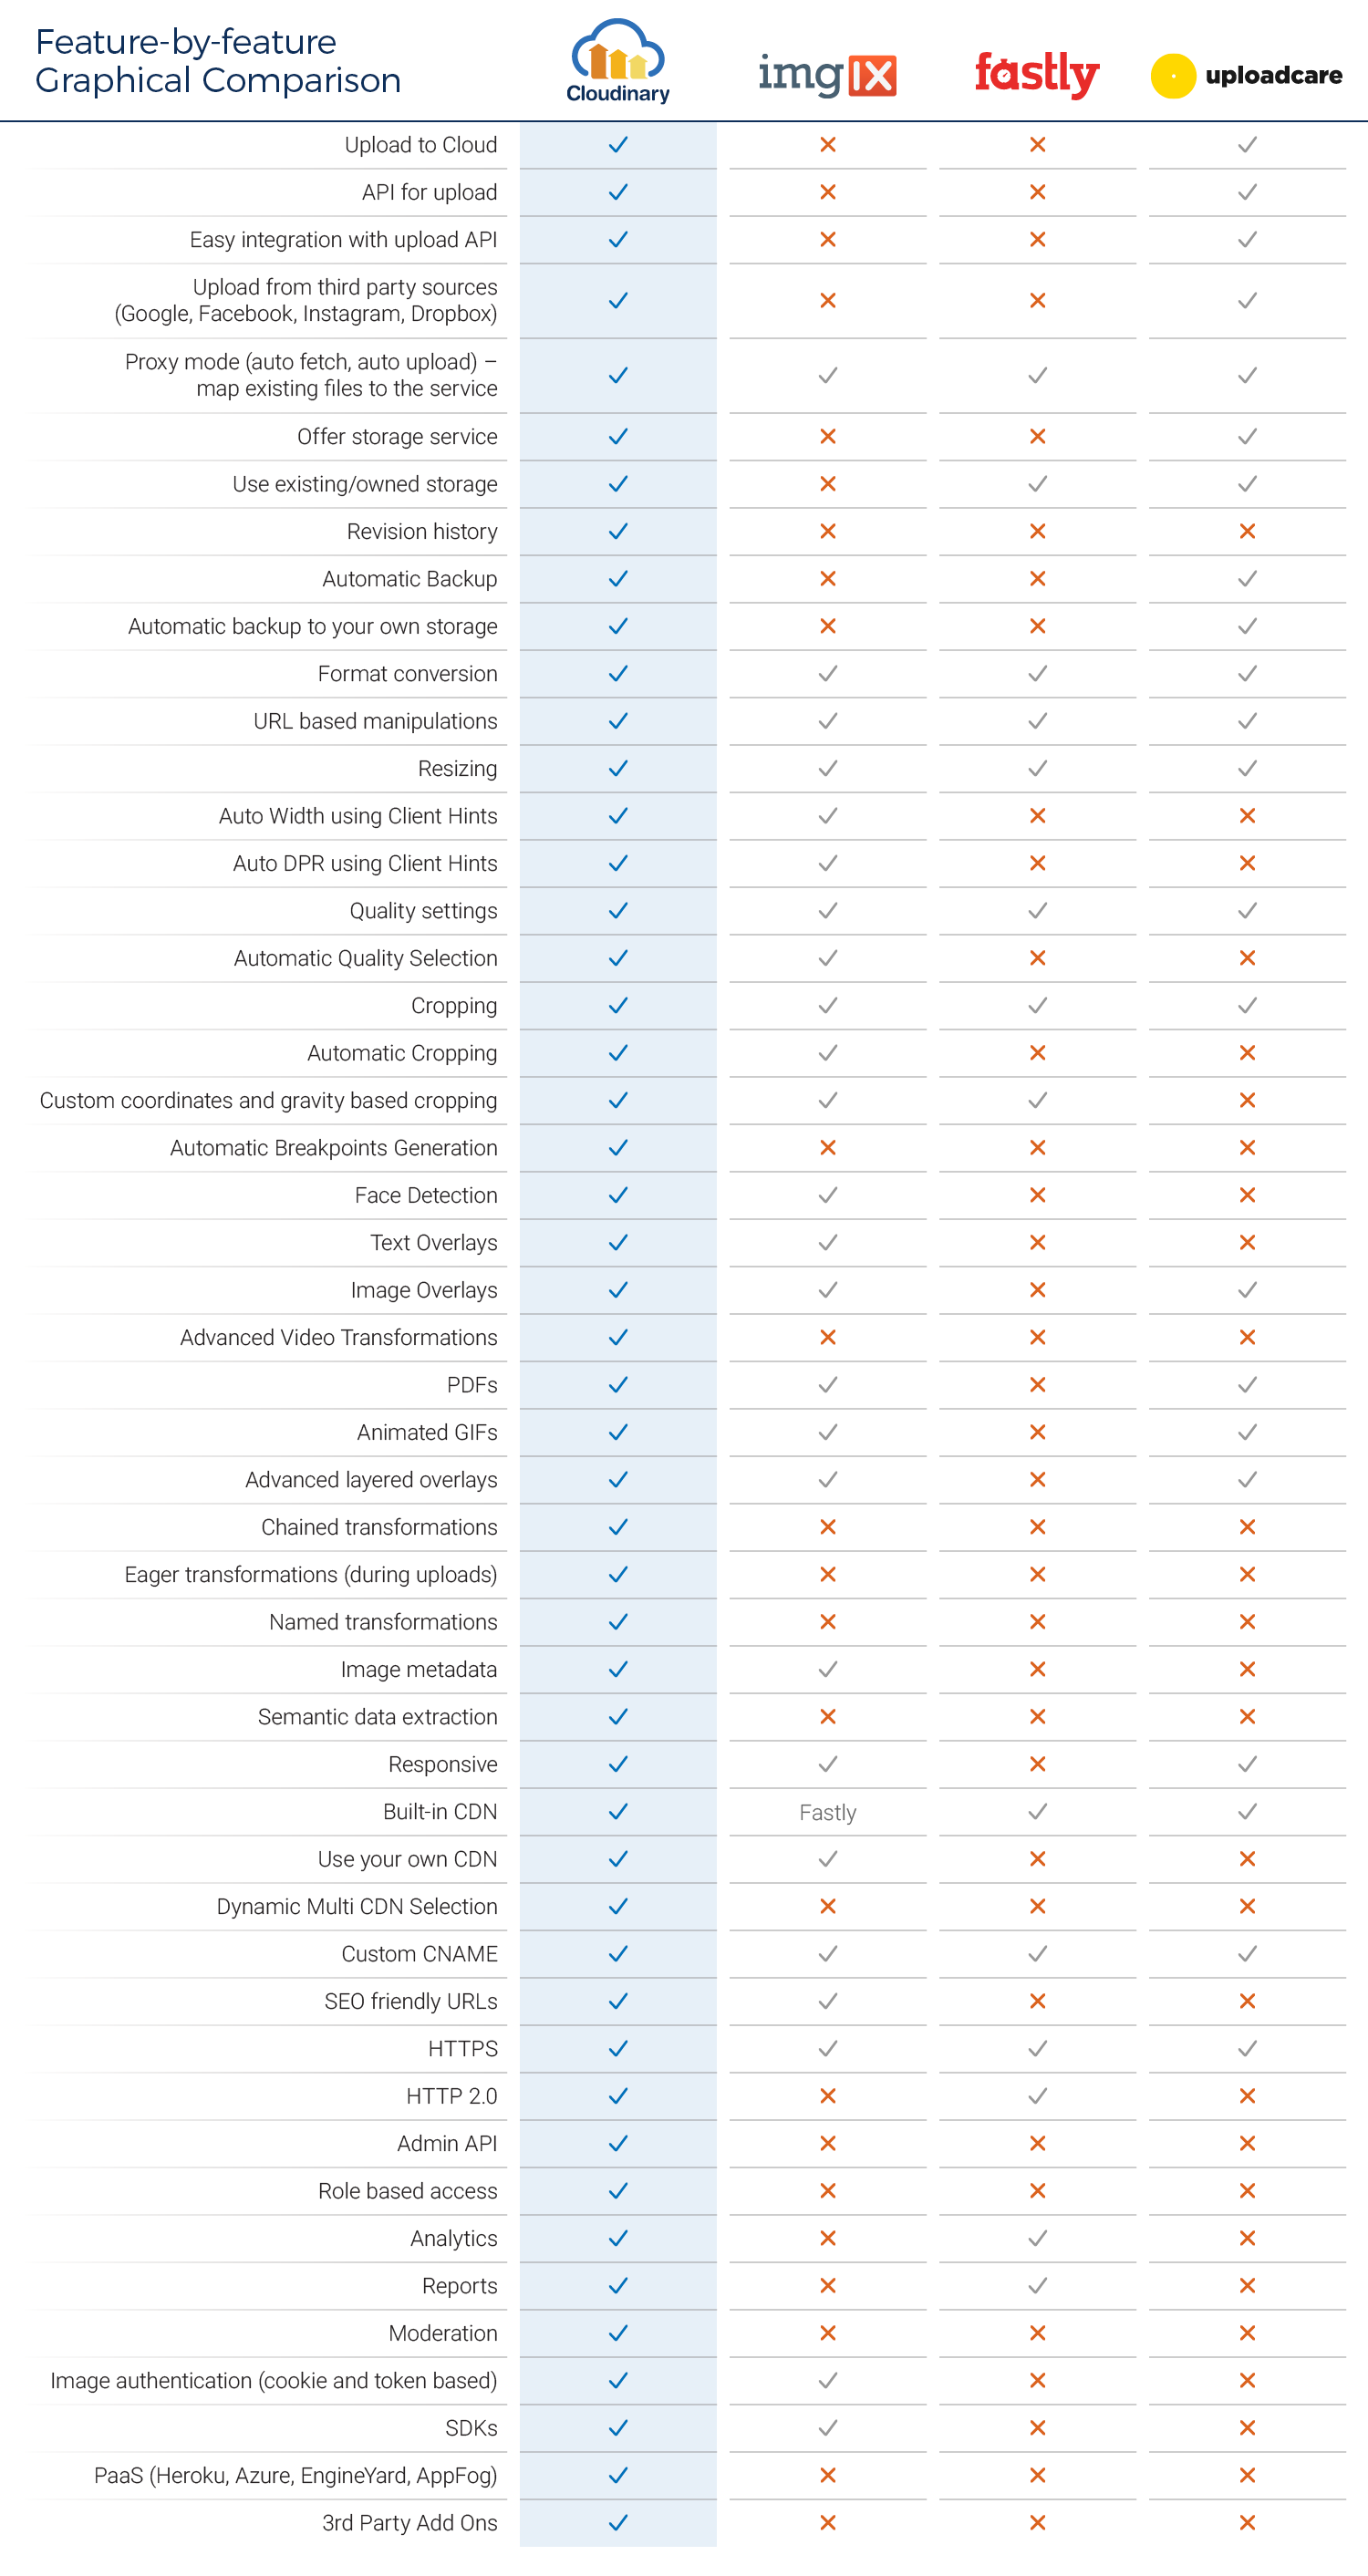
It's recommended that you use a dedicated service for handling files such as images, PDFs, documents and videos. As a developer, always offload these media assets to dedicated storage services. Services such as Cloudinary, Filestack, Uploadcare, Imgix and Fastly.
This is a feature by feature graphical comparison of the various services mentioned above with the features they offer.
Integrations
Cloudinary offers SDKs for different languages and frameworks, including Ruby on Rails, PHP, Angular, React, JQuery, Android, iOS, Python and JavaScript. Cloudinary also offers its services as add-ons or integrations on PaaS platforms, such as Heroku, Azure, EngineYard and AppFog.
Fastly does not provide any SDK. It simply operates via a query string URL API call.
Imgix offers SDKs for Ruby on Rails, Python, React, PHP, Node.js, Go, C# and Java.
Uploadcare offers SDKs for Ruby, Ruby on Rails, Python, PHP, Java, Angular, Android, iOS, and Meteor.
Production Monitoring & Logging
After deploying your app, the next step is to set up logs and monitoring for the application. Performance monitoring and logging allow you understand everything going on in your app. User interactions, application errors, and issues.
All these statistics offer you a better understanding of your app and userbase, which ultimately provides you and your team with better focus areas.
Fantastic monitoring and logging services you can integrate with your app are:
SSL
Every website should be secured to protect users' private information. An SSL Certificate is required to be installed on the server where the website is hosted. SSL certificates allow web servers to encrypt their traffic, and also offer a mechanism to validate server identities to their visitors. An SSL Certificate needs to be purchased from a trusted Certificate Authority such as GoDaddy, RapidSSL, Verisign, Digicert, etc.
SSLs aggregates several SSL providers and provides discounts on SSL purchase. However, Let's Encrypt is a Certificate Authority that offers free SSL certificates.
Check out how to get started with Let's Encrypt.
Aside: Auth0 Authentication with JavaScript
At Auth0, we make heavy use of full-stack JavaScript to help our customers to manage user identities, including password resets, creating, provisioning, blocking, and deleting users. Therefore, it must come as no surprise that using our identity management platform on JavaScript web apps is a piece of cake.
Auth0 offers a free tier to get started with modern authentication. Check it out, or sign up for a free Auth0 account here!
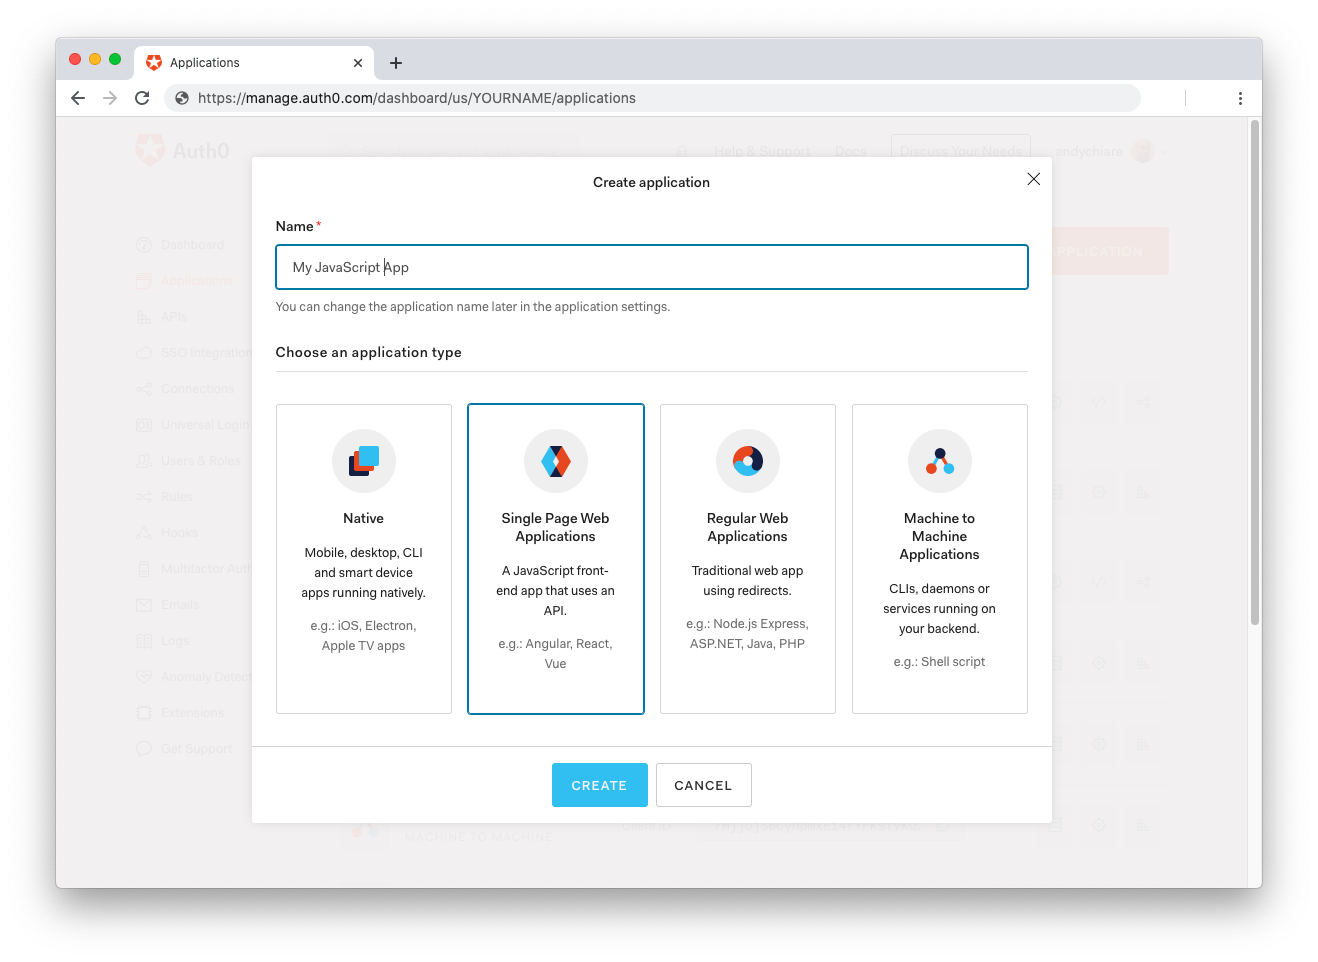
Then, go to the Applications section of the Auth0 Dashboard and click on "Create Application". On the dialog shown, set the name of your application and select Single Page Web Applications as the application type:
After the application has been created, click on "Settings" and take note of the domain and client id assigned to your application. In addition, set the Allowed Callback URLs and Allowed Logout URLs fields to the URL of the page that will handle login and logout responses from Auth0. In the current example, the URL of the page that will contain the code you are going to write (e.g.
http://localhost:8080Now, in your JavaScript project, install the
library like so:auth0-spa-js
npm install @auth0/auth0-spa-js
Then, implement the following in your JavaScript app:
import createAuth0Client from '@auth0/auth0-spa-js';

let auth0Client;

async function createClient() {
  return await createAuth0Client({
    domain: 'YOUR_DOMAIN',
    client_id: 'YOUR_CLIENT_ID',
  });
}

async function login() {
  await auth0Client.loginWithRedirect();
}

function logout() {
  auth0Client.logout();
}

async function handleRedirectCallback() {
  const isAuthenticated = await auth0Client.isAuthenticated();

  if (!isAuthenticated) {
    const query = window.location.search;
    if (query.includes('code=') && query.includes('state=')) {
      await auth0Client.handleRedirectCallback();
      window.history.replaceState({}, document.title, '/');
    }
  }

  await updateUI();
}

async function updateUI() {
  const isAuthenticated = await auth0Client.isAuthenticated();

  const btnLogin = document.getElementById('btn-login');
  const btnLogout = document.getElementById('btn-logout');

  btnLogin.addEventListener('click', login);
  btnLogout.addEventListener('click', logout);

  btnLogin.style.display = isAuthenticated ? 'none' : 'block';
  btnLogout.style.display = isAuthenticated ? 'block' : 'none';

  if (isAuthenticated) {
    const username = document.getElementById('username');
    const user = await auth0Client.getUser();

    username.innerText = user.name;
  }
}

window.addEventListener('load', async () => {
  auth0Client = await createClient();

  await handleRedirectCallback();
});
Replace the
andYOUR_DOMAINplaceholders with the actual values for the domain and client id you found in your Auth0 Dashboard.YOUR_CLIENT_ID
Then, create your UI with the following markup:
<p>Welcome <span id="username"></span></p>
<button type="submit" id="btn-login">Sign In</button>
<button type="submit" id="btn-logout" style="display:none;">Sign Out</button>
Your application is ready to authenticate with Auth0!
Check out the Auth0 SPA SDK documentation to learn more about authentication and authorization with JavaScript and Auth0.
Conclusion
There is no way we can cover all the different options available for deploying JavaScript applications. JavaScript is a language that has evolved over the years, from simple fancy scripts to running on servers.
Hopefully, this guide covers a lot of your needs for deploying your JavaScript applications to all the major cloud providers.
Auth0 provides the simplest and easiest to use user interface tools to help administrators manage user identities including password resets, creating and provisioning, blocking and deleting users.
How have you been handling your deployments? Please, let me know in the comments section below!
About the author

Prosper Otemuyiwa
Former Auth0 Employee (Auth0 Alumni)

