Creating an Event Stream
Use this guide to create and manage event streams using cURL commands with the Auth0 platform.
Event streams allow you to monitor and respond to specific user activities or system changes. By setting up an event stream, you can integrate webhook endpoints to receive notifications about events such as user creation, updates, or deletion.
Getting started
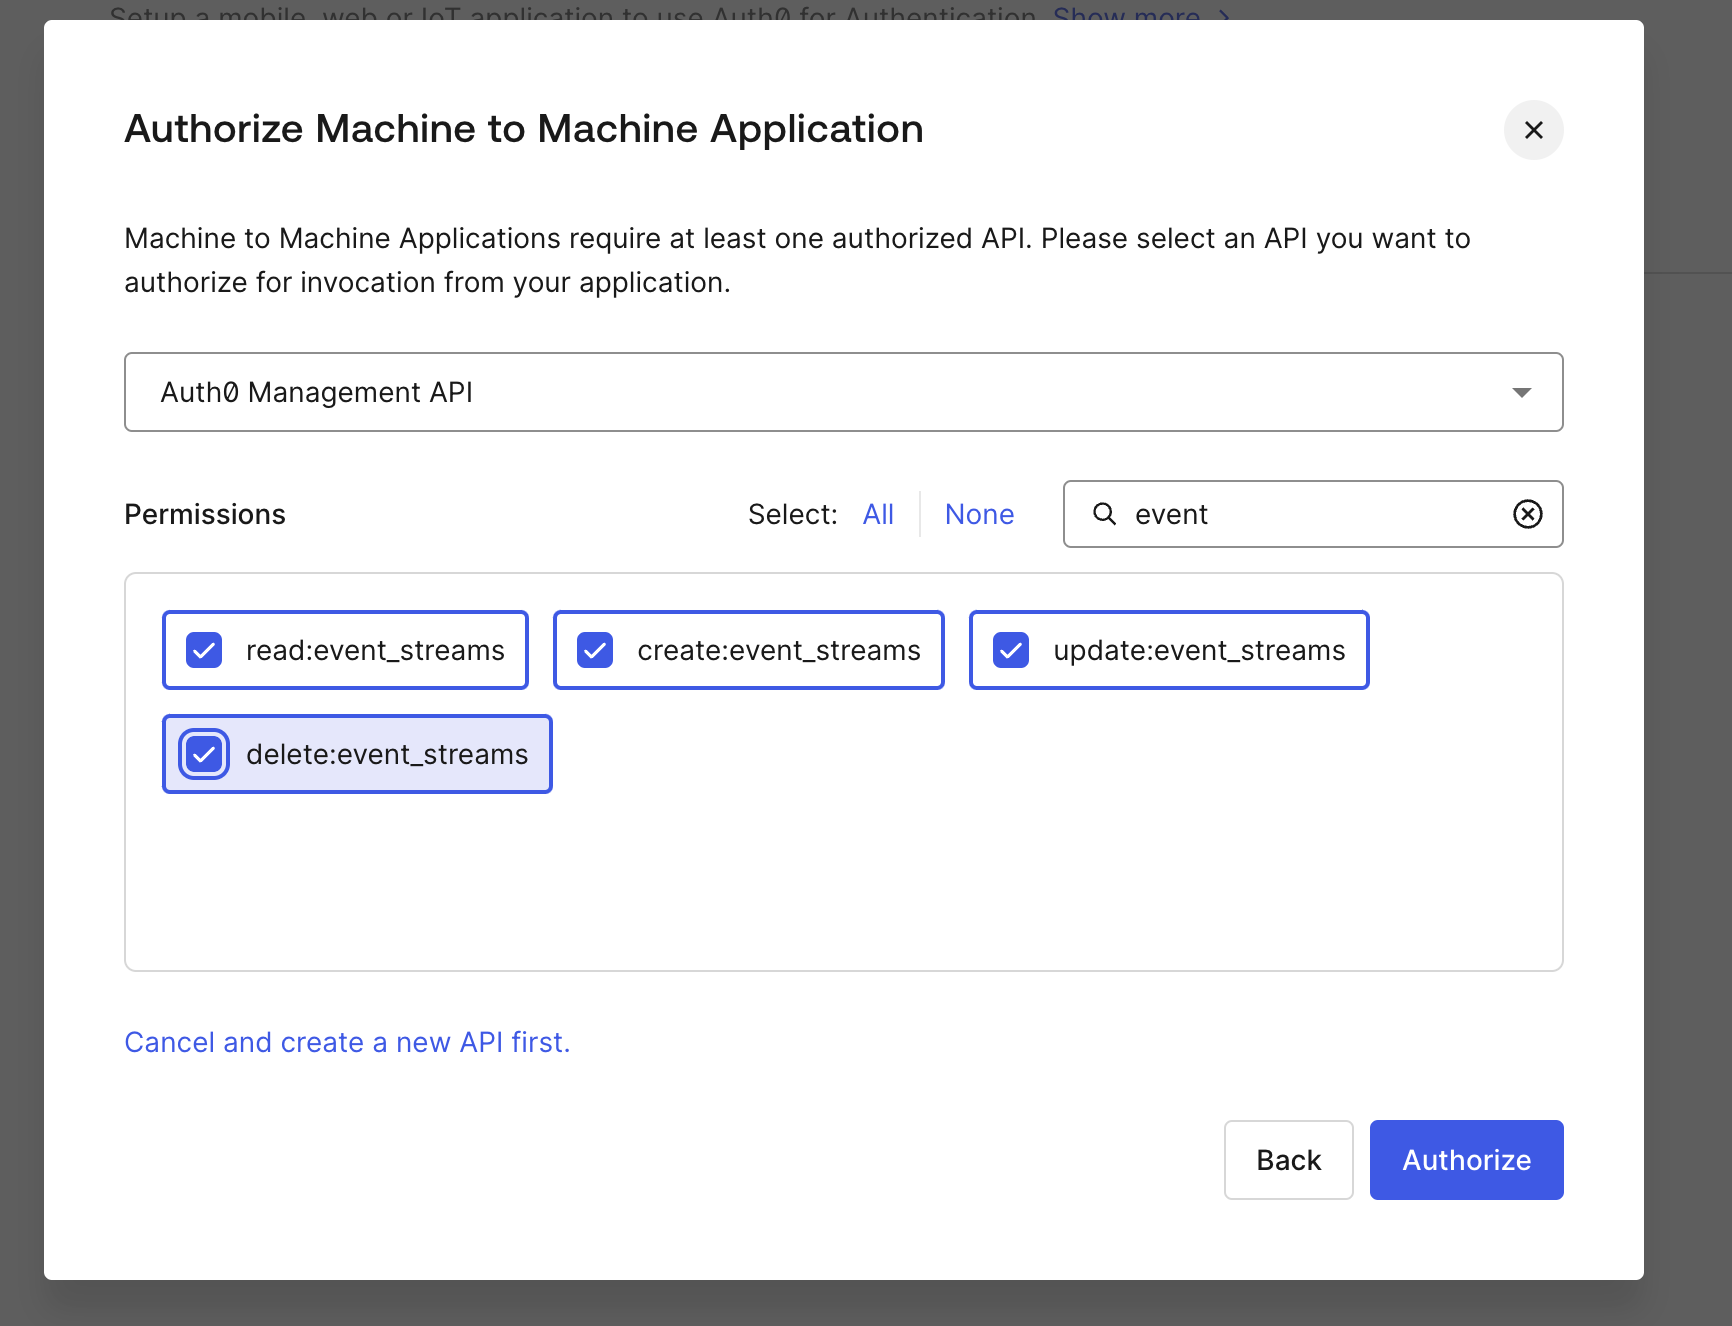
Navigate to Dashboard > Organization > Machine to Machine Access and create an M2M token with the appropriate event stream scopes.

Generate a token for local testing. Run the following command to generate a token:
export TOKEN=$(curl --request POST \
  --url https://acme.plf-eda-cyx20241115a.auth0c.com/oauth/token \
  --header 'content-type: application/json' \
  --data '{"client_id":"your-client-id","client_secret":"your-client-secret", "audience":"https://acme.plf-eda-cyx20241115a.auth0c.com/api/v2/","grant_type":"client_credentials"}' | jq -r .access_token)
Was this helpful?
/Ensure your setup is working by listing existing event streams:
curl -s -H "authorization: Bearer $TOKEN" https://acme.plf-eda-cyx20241115a.auth0c.com/api/v2/event-streams | jq .

{
  "eventStreams": []
}
Was this helpful?
/
Create your first event stream
See the table below for the currently-supported event types in your event stream.
Event Description
| Event | Description |
|---|---|
| user.created | An event that is published each time a user is created. This could be through the signup page, through the Management API, bulk user import, SCIM, JIT (for Social/Enterprise), or otherwise. |
| user.updated | An event that is published each time a user is updated. This could be after login, through the Management API, bulk user import (upsert), SCIM, JIT (for Social/Enterprise), or otherwise. |
| user.deleted | An event that is published each time a user is deleted. This could be through the Management API when a connection is deleted. |
Once you have identified the event type, you can define it alongside your webhook endpoint using the following command:
curl -s -H "authorization: Bearer $TOKEN" -H "Content-Type: application/json" \
  -XPOST https://acme.plf-eda-cyx20241115a.auth0c.com/api/v2/event-streams \
  -d '{
  "name": "my-event-stream-1",
  "subscriptions": [
    {
      "event_type": "user.created"
    }
  ],
  "destination": {
    "type": "webhook",
    "configuration": {
      "webhook_endpoint": "https://example.com/webhook",
      "webhook_authorization": {
        "method": "bearer",
        "token": "my-token"
      }
    }
  }
}'
Was this helpful?
Verify the event stream
Now that you have created an event stream, you should retrieve and verify that the event stream exists using the following command:
curl -s -H "authorization: Bearer $TOKEN" https://acme.plf-eda-cyx20241115a.auth0c.com/api/v2/event-streams | jqWas this helpful?
Expected output:
{
  "eventStreams": [
    {
      "id": "est_7W8uNfgHNxDzCgXVrt7JfH",
      "status": "disabled",
      "name": "my-event-stream-1",
      "subscriptions": [
        {
          "event_type": "user.created"
        }
      ],
      "created_at": "2024-12-18T16:14:31.519Z",
      "updated_at": "2024-12-18T16:14:31.519Z",
      "destination": {
        "type": "webhook",
        "configuration": {
          "webhook_endpoint": "https://example.com/webhook",
          "webhook_authorization": {
            "method": "bearer"
          }
        }
      }
    }
  ]
}
Was this helpful?
Enable the event stream
Finally, you'll need to extract the event stream ID and enable it:
ID=$(curl -s -H "authorization: Bearer $TOKEN" https://acme.plf-eda-cyx20241115a.auth0c.com/api/v2/event-streams | jq -r '.eventStreams[0].id')

curl -s -H "authorization: Bearer $TOKEN" -H "Content-Type: application/json" \
  -XPATCH https://acme.plf-eda-cyx20241115a.auth0c.com/api/v2/event-streams/${ID} \
  -d '{"status":"enabled"}'
Was this helpful?
You've now created and enabled a working event stream for creating a user.
